Good evening;
Well, I started directly with the photos:
Comments are not banned ...
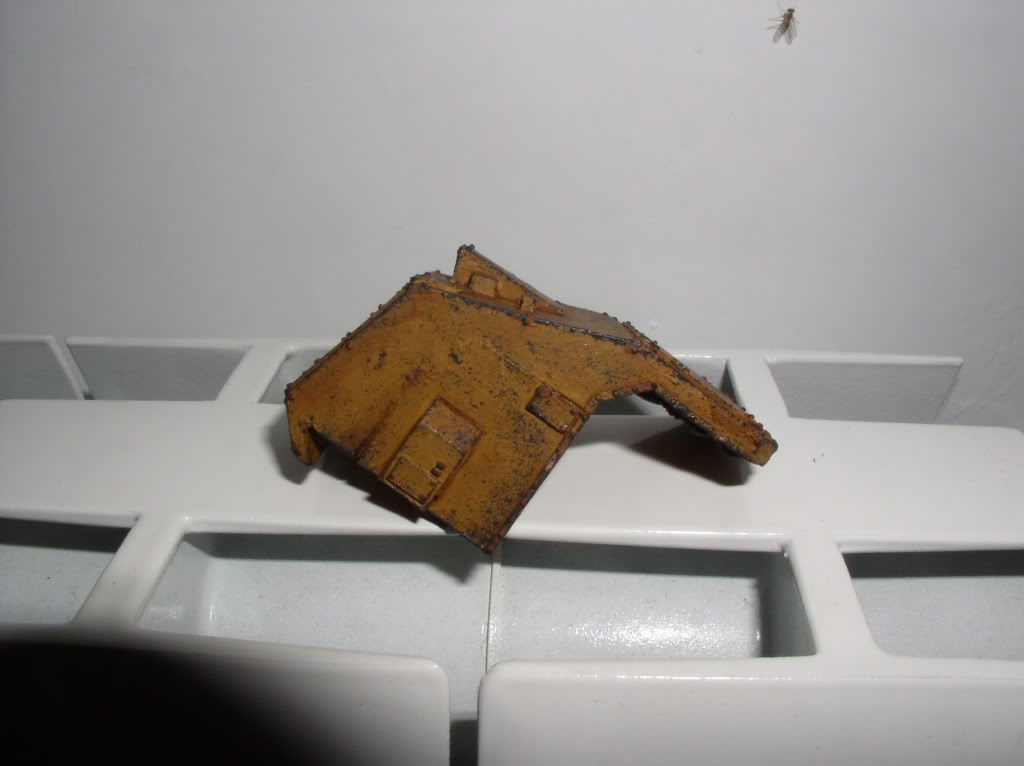
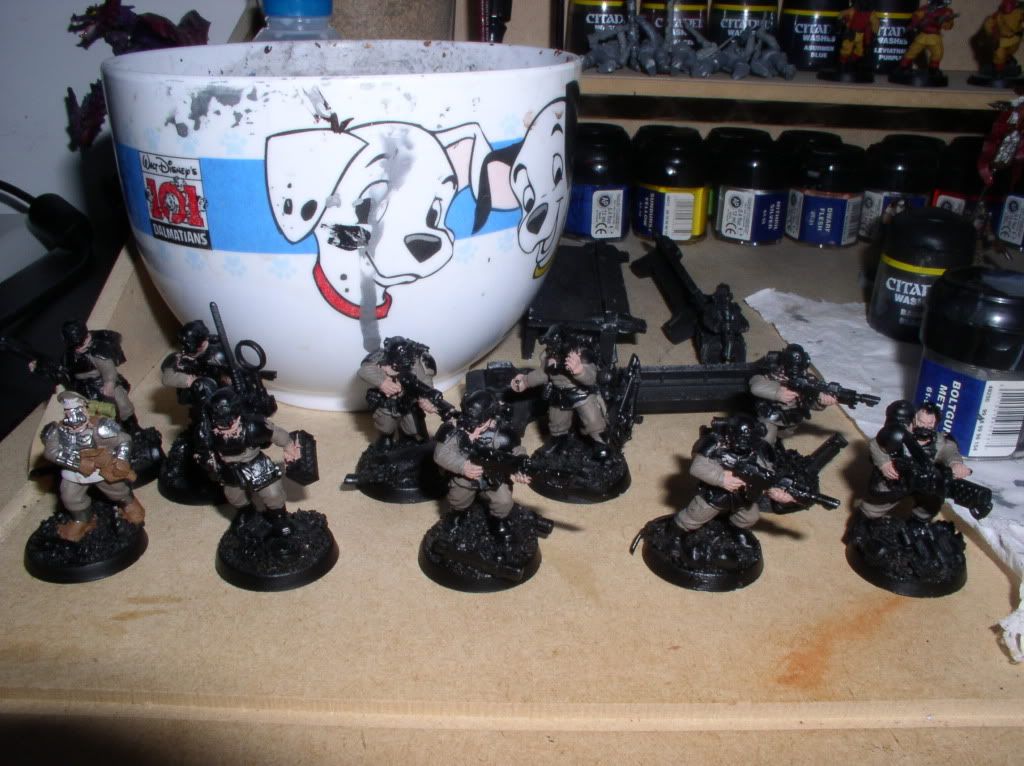
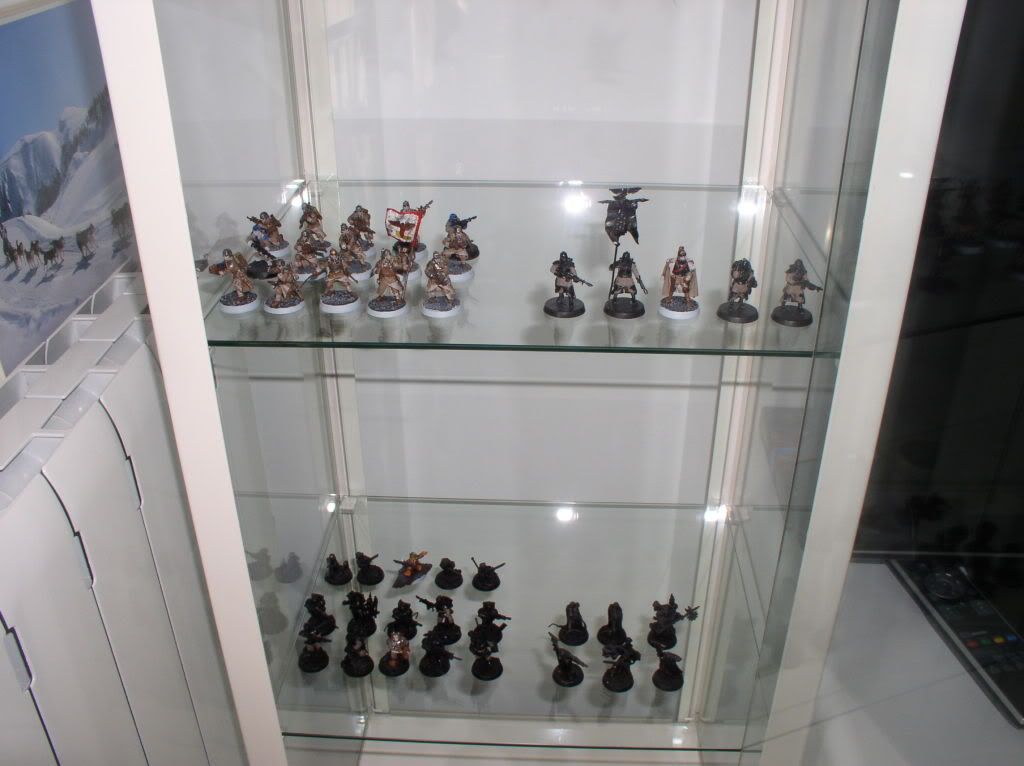
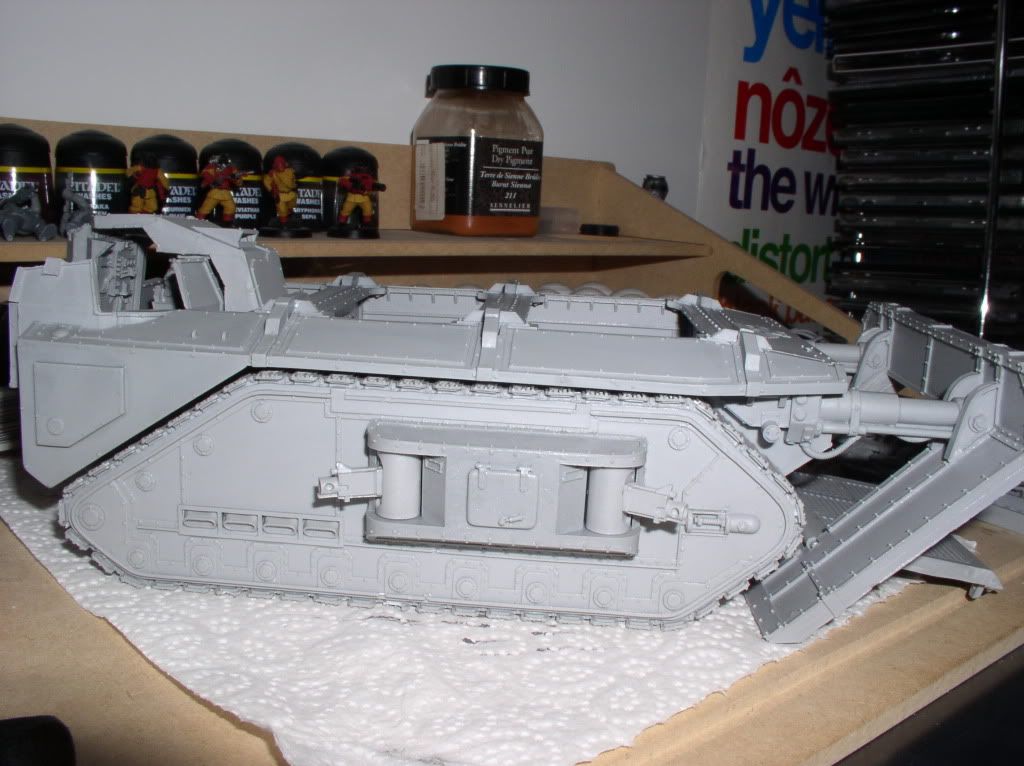
My window:
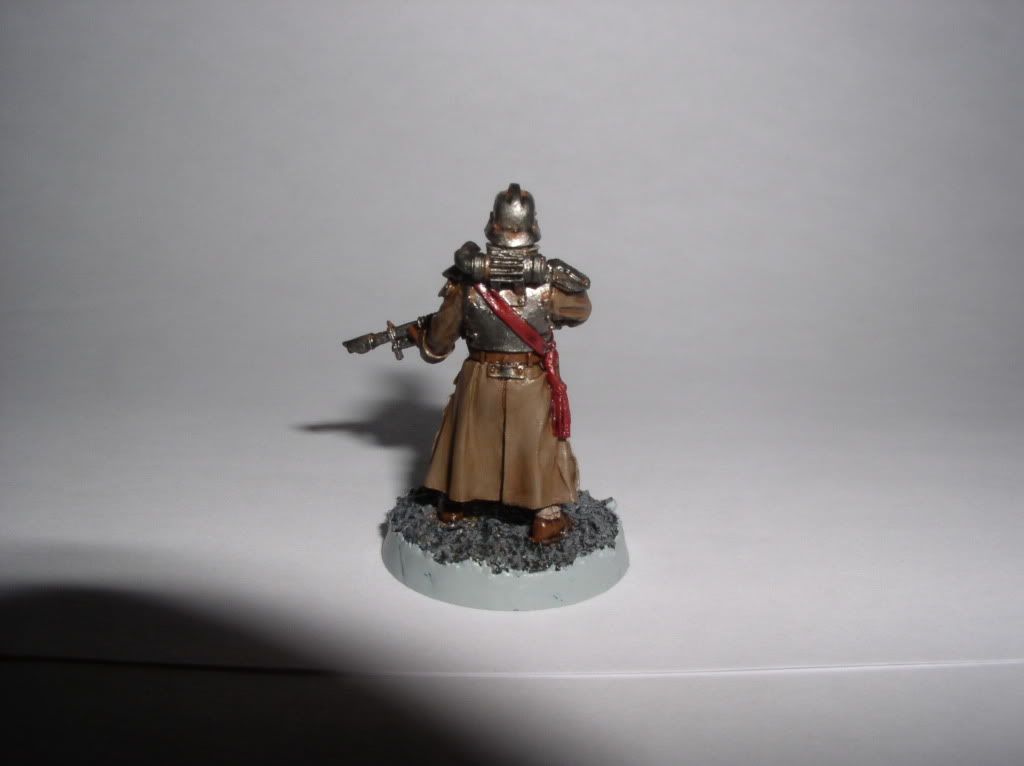
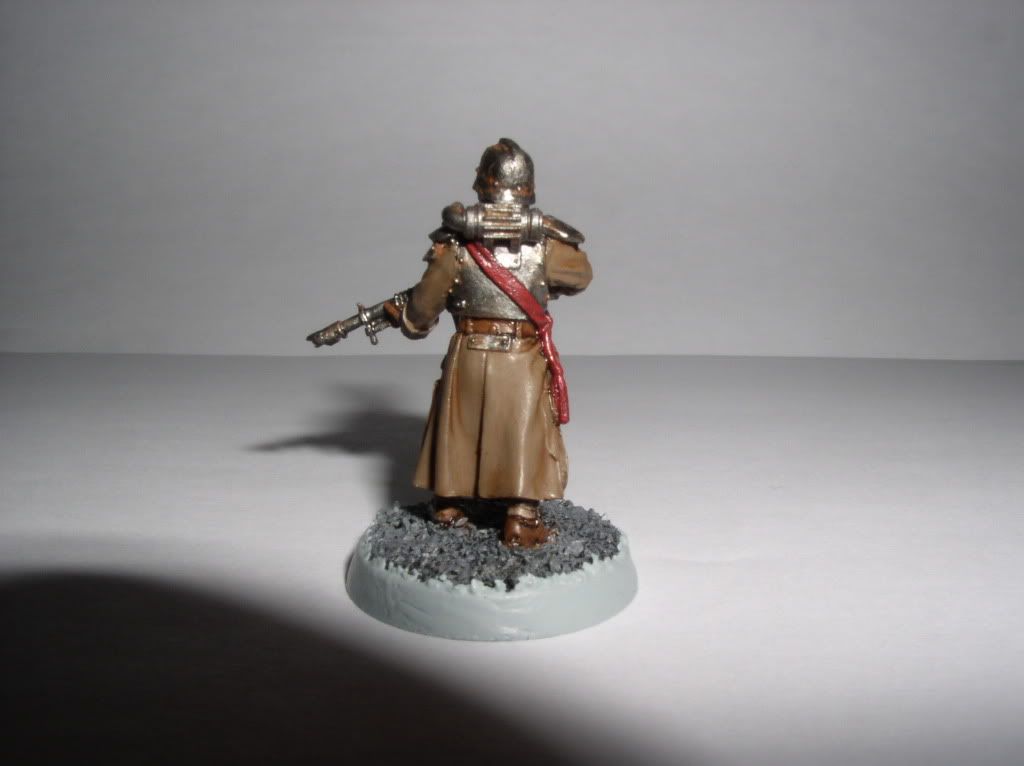
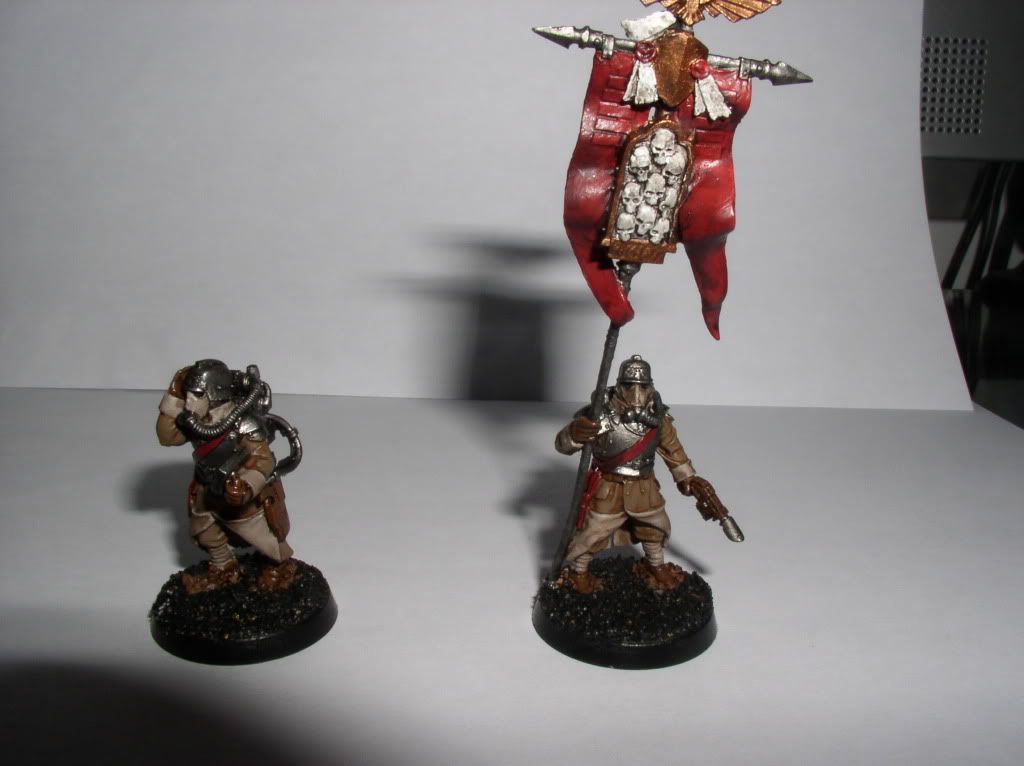
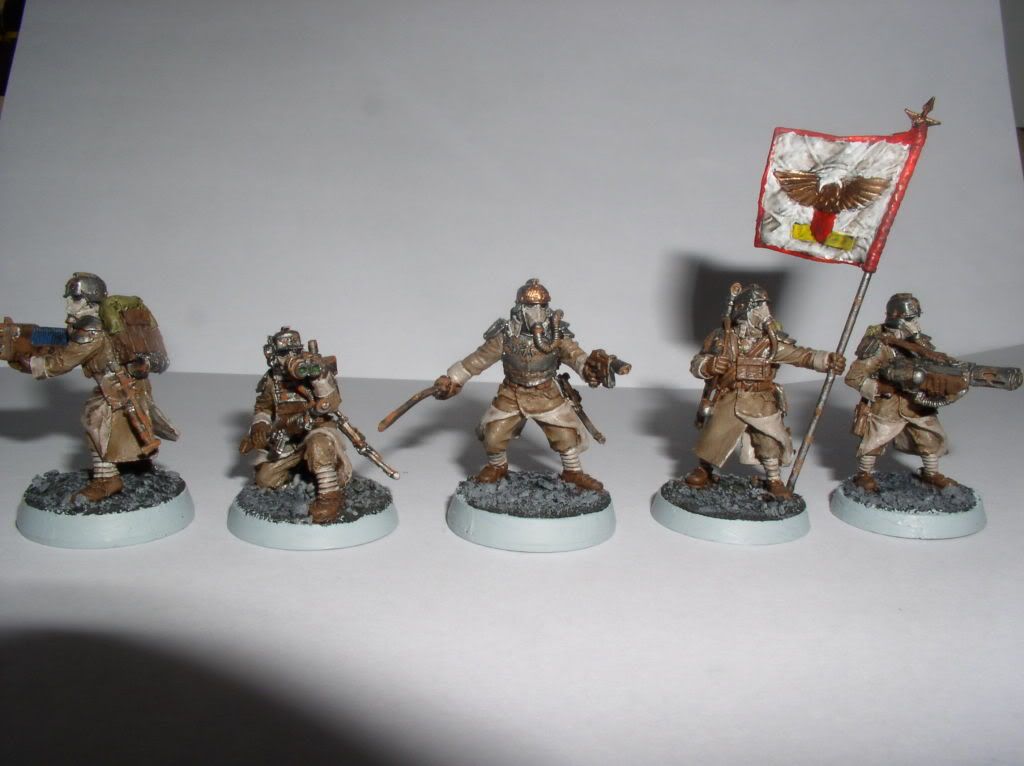
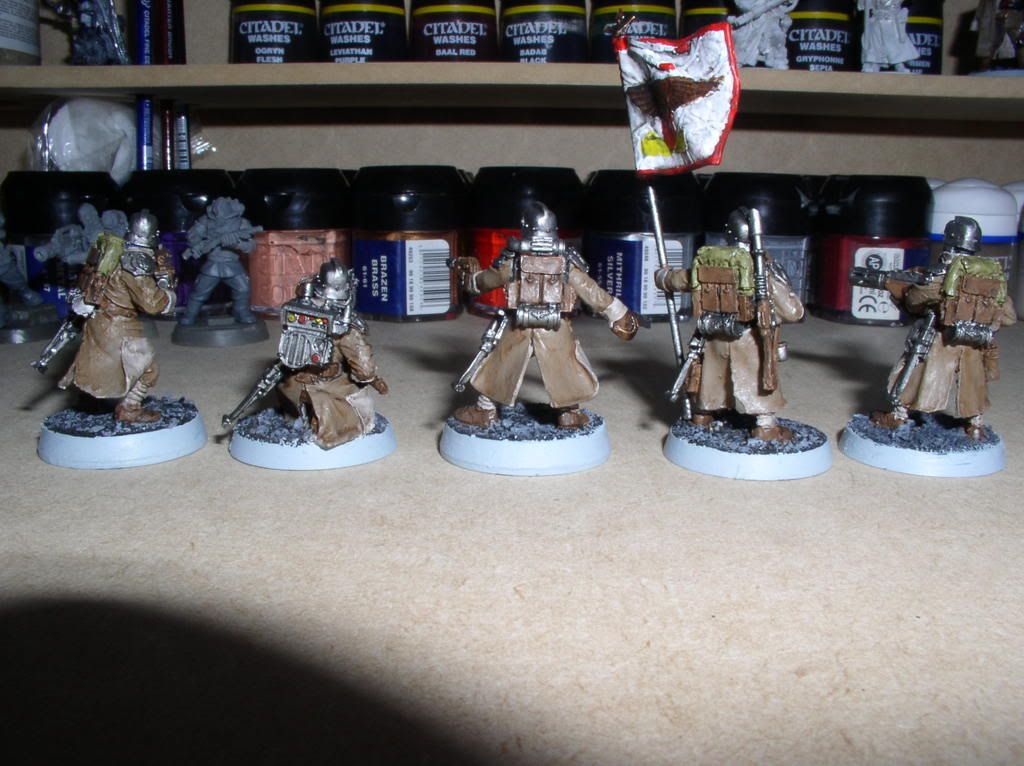
Death Korp command squad :
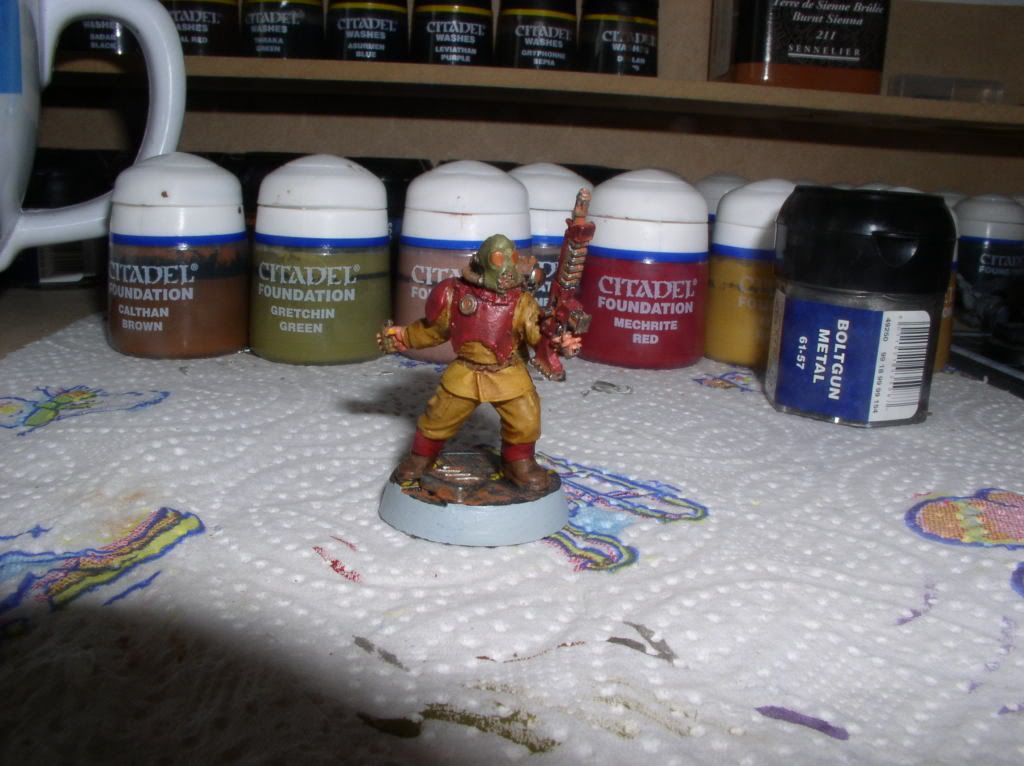
Ralting :
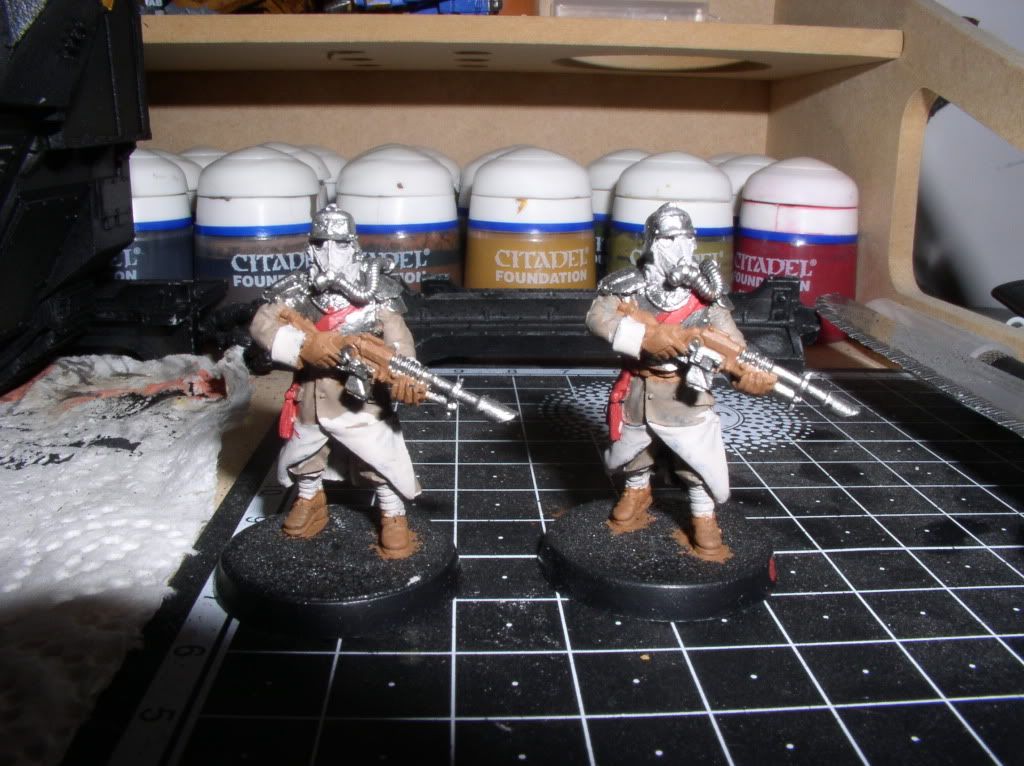
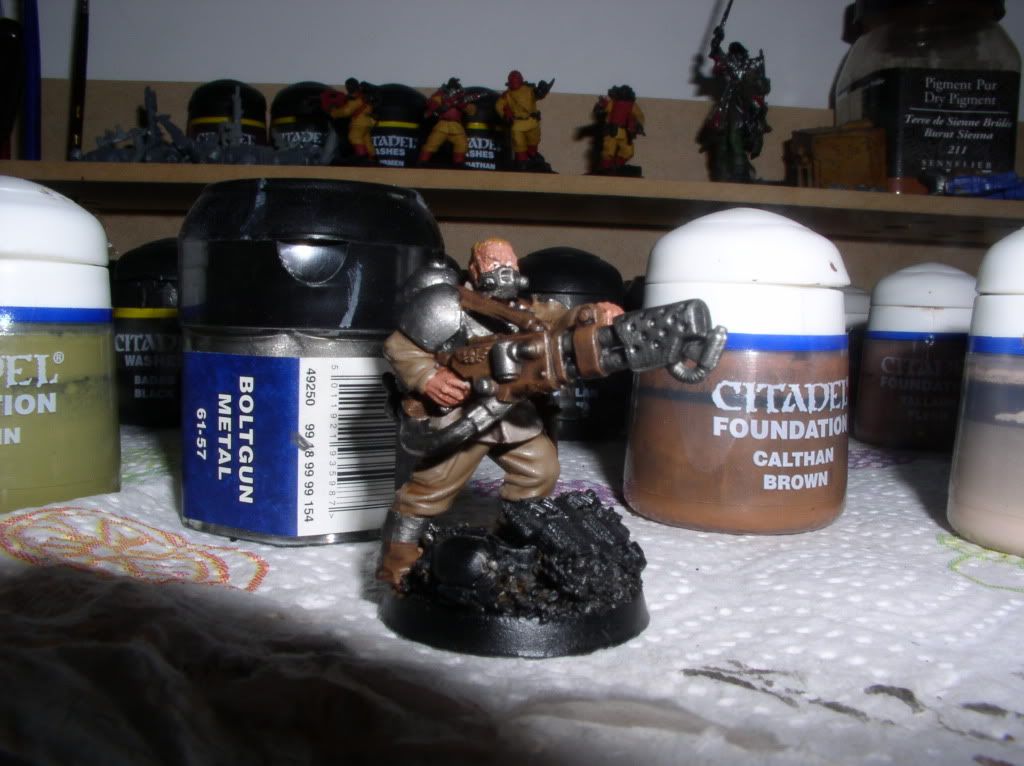
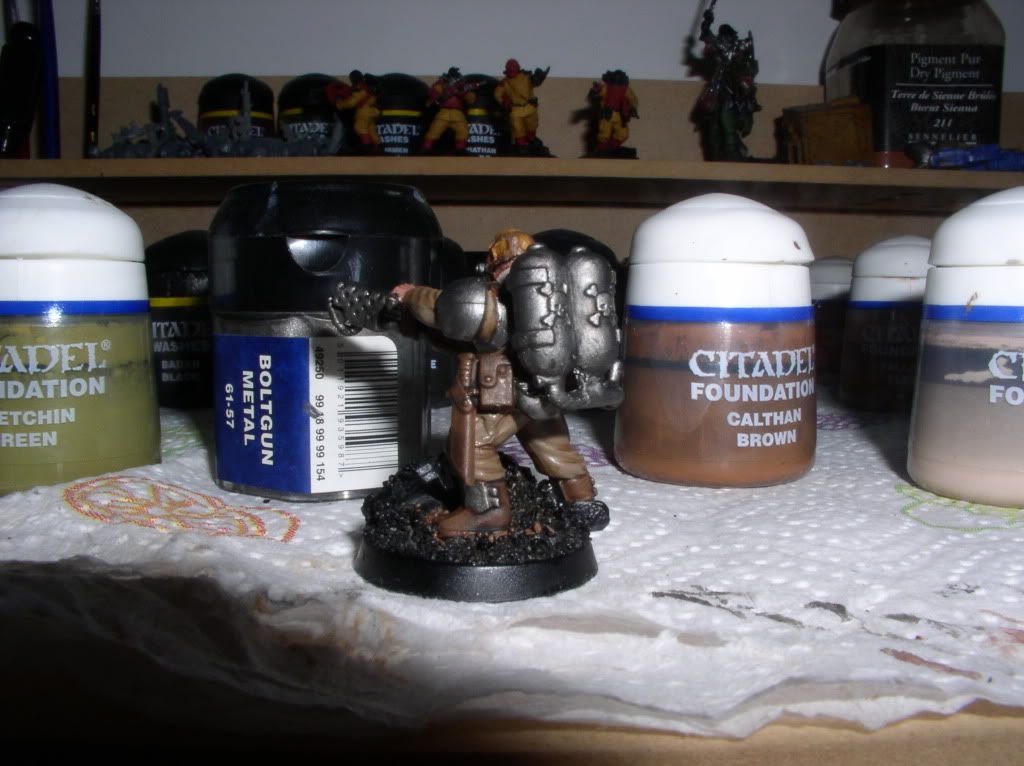
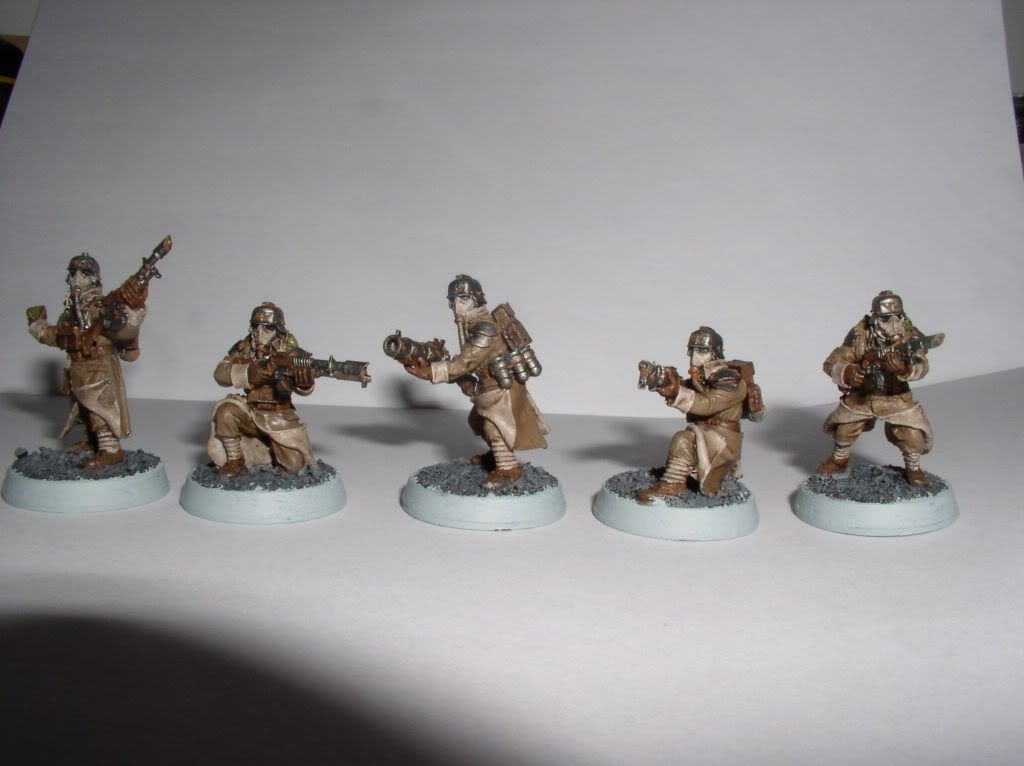
Death Korp firing squad :
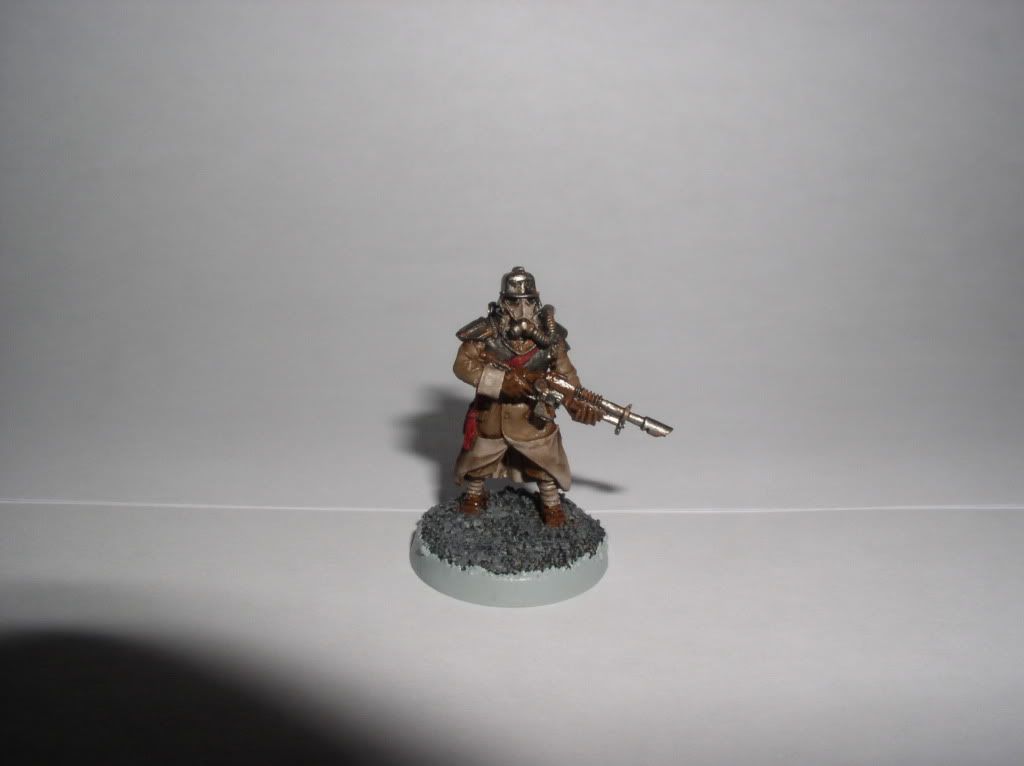
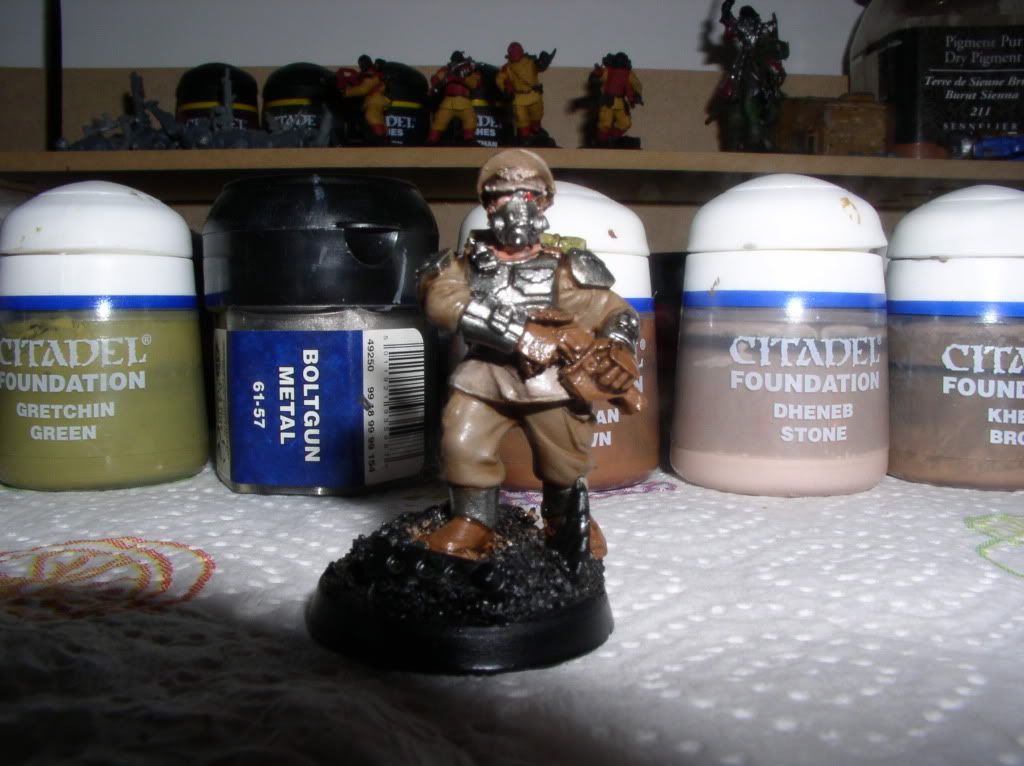
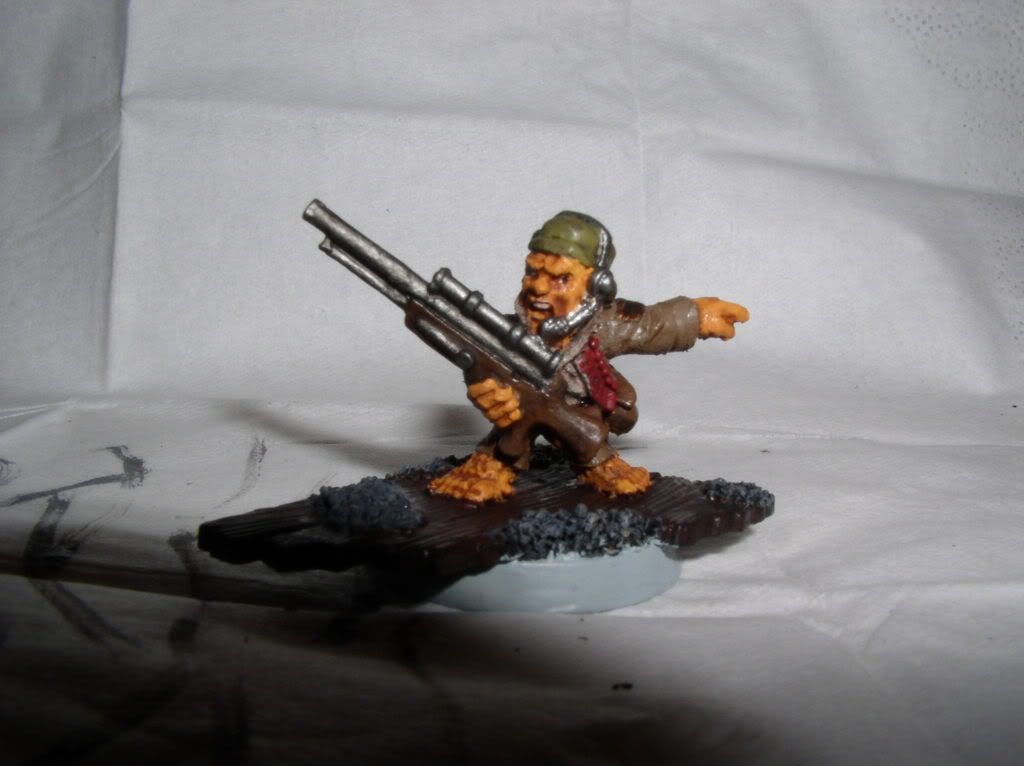
Cadian with respirator :
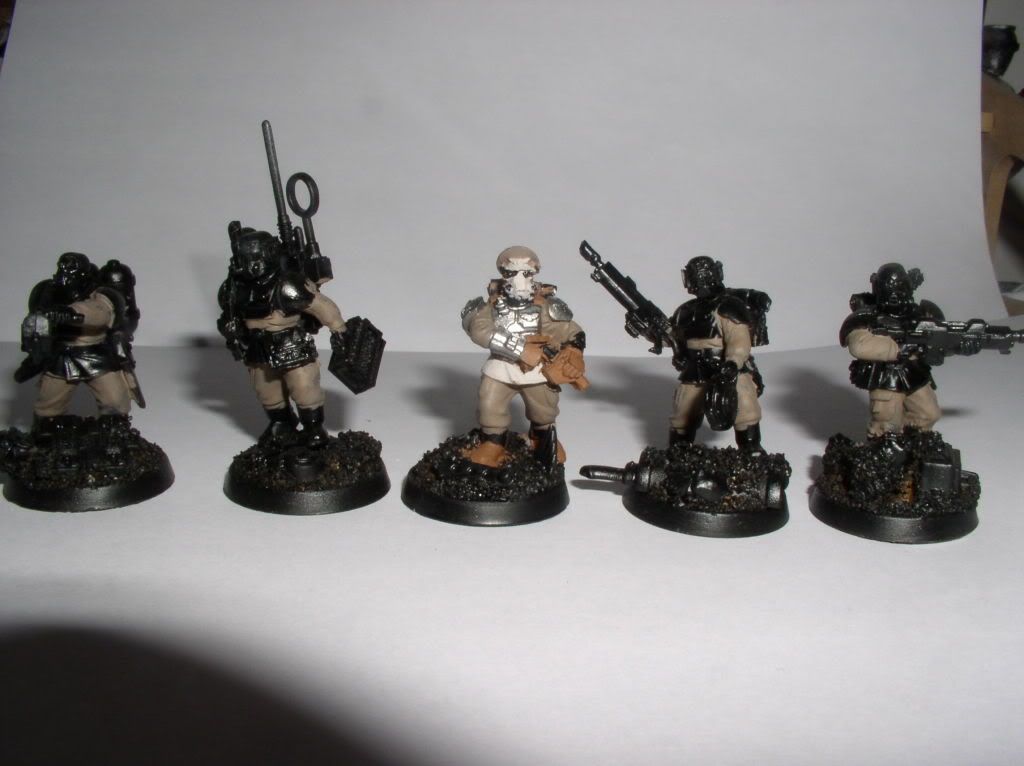

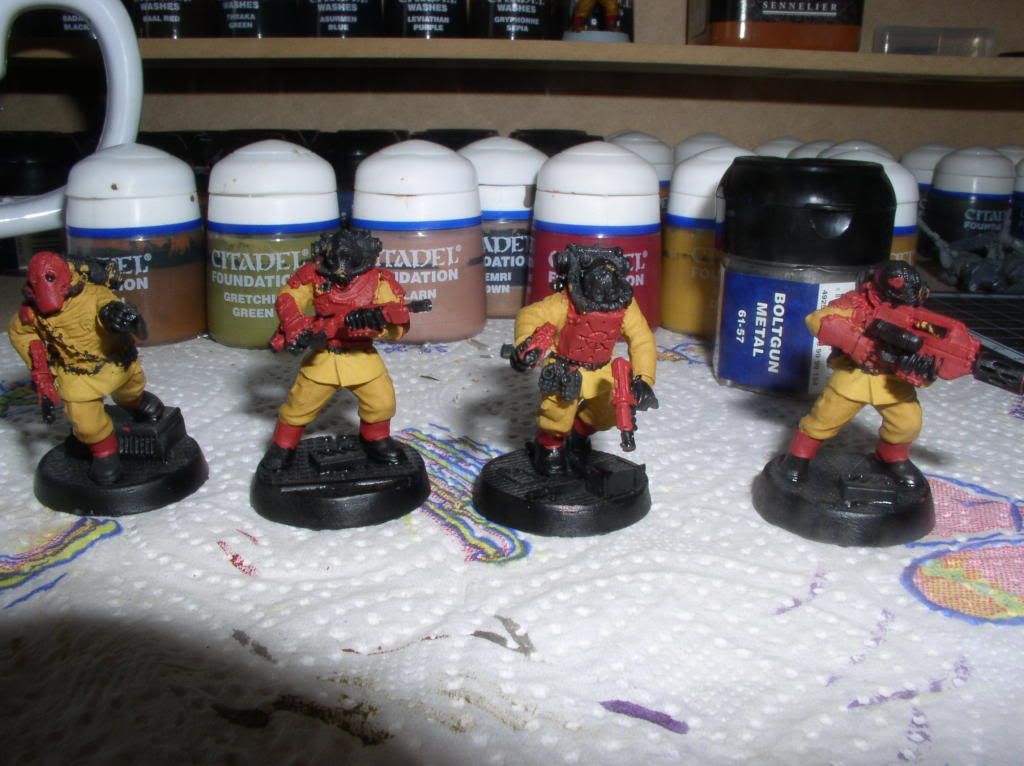
Renegad militia squad :
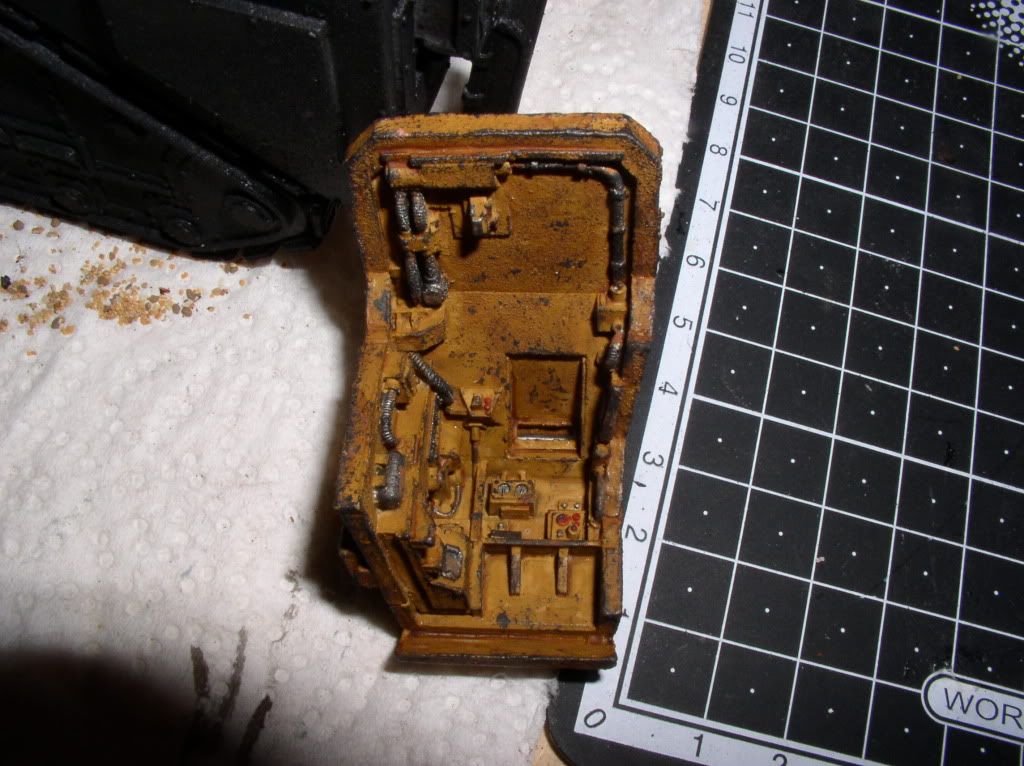
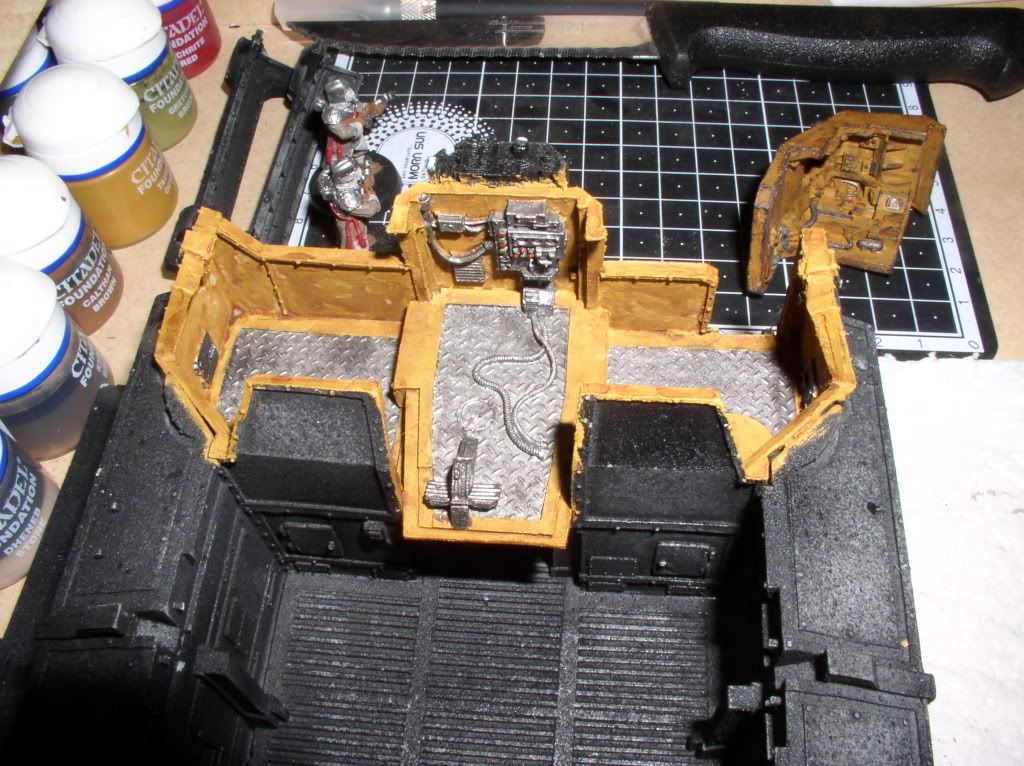
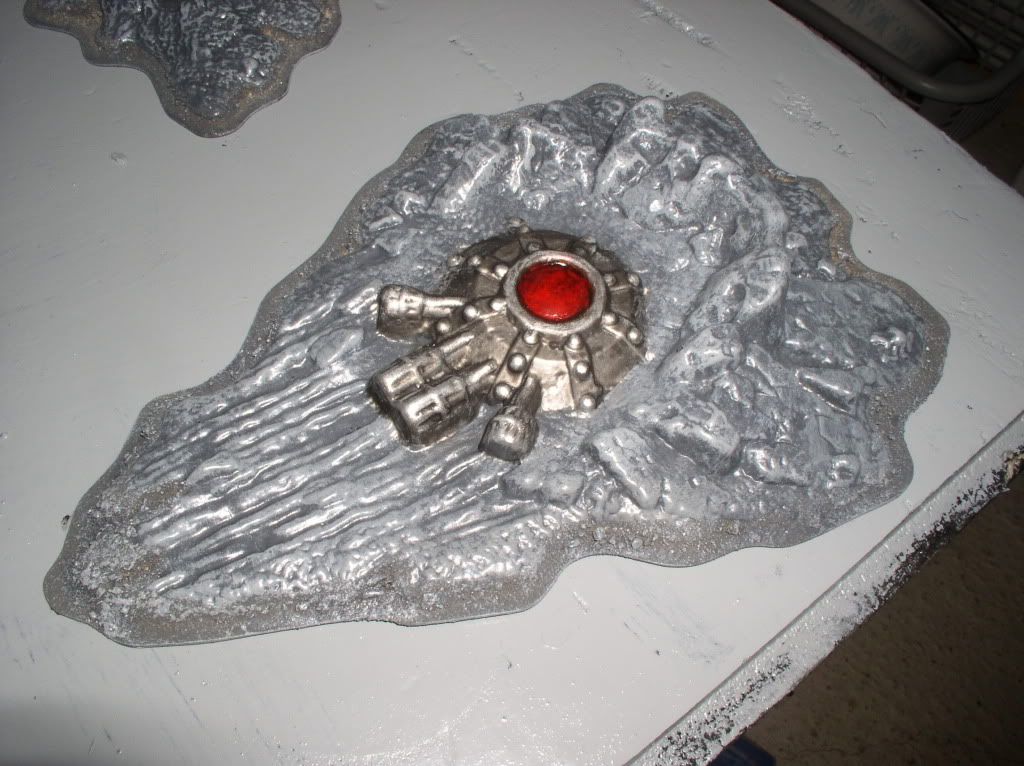
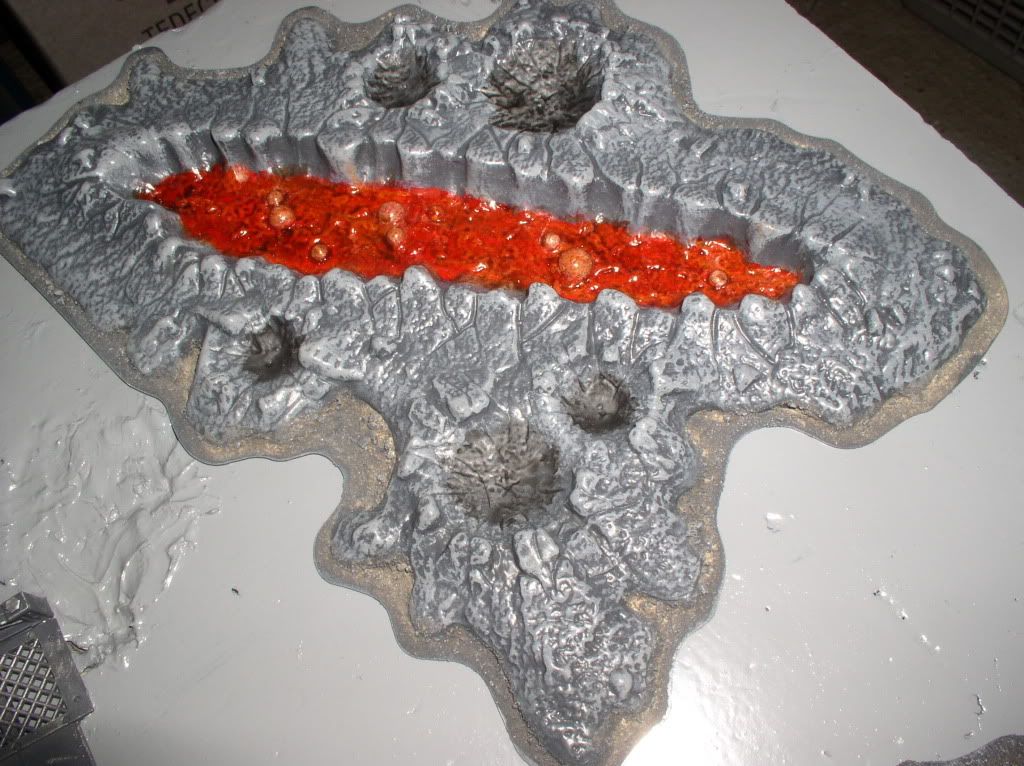
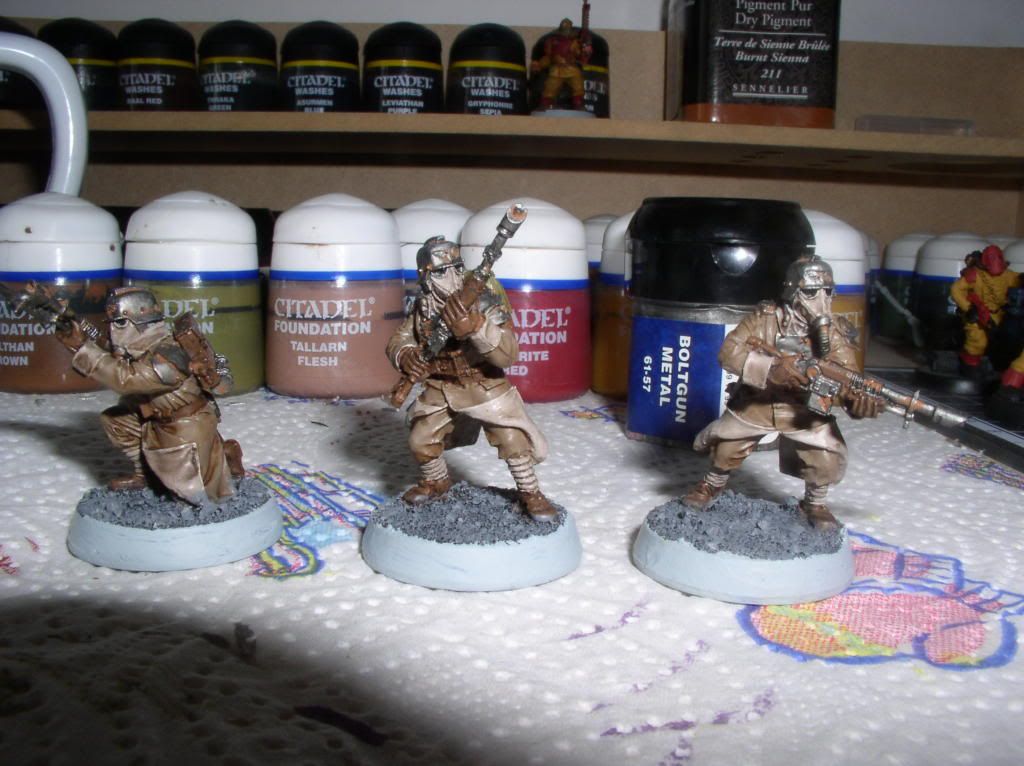
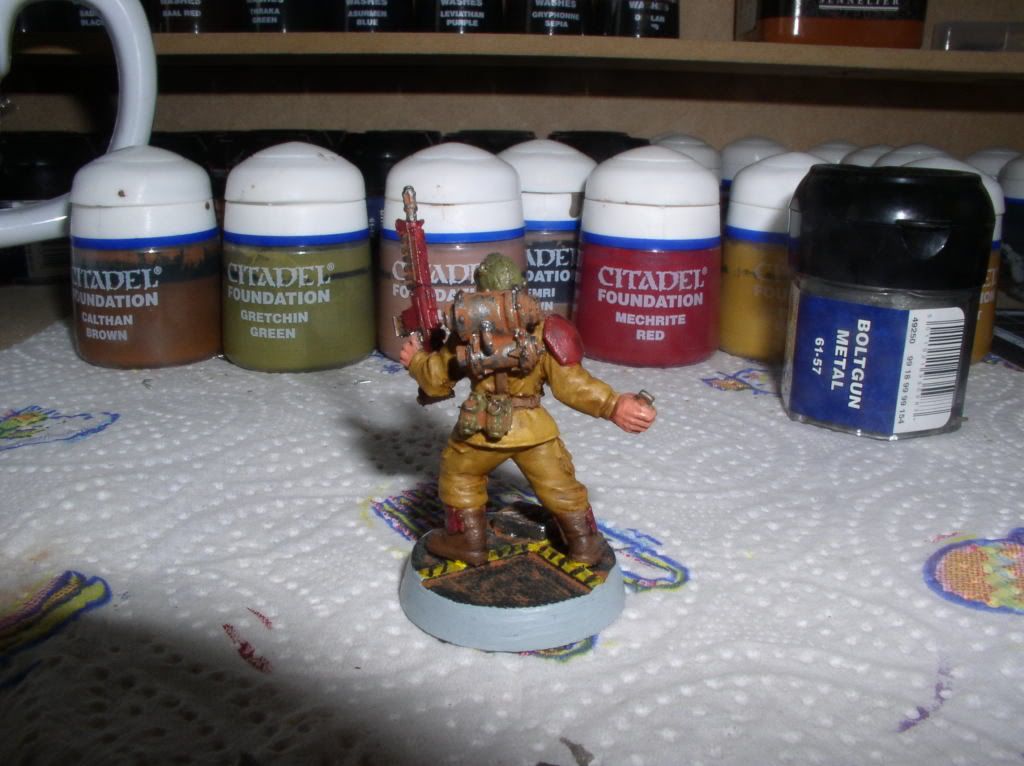
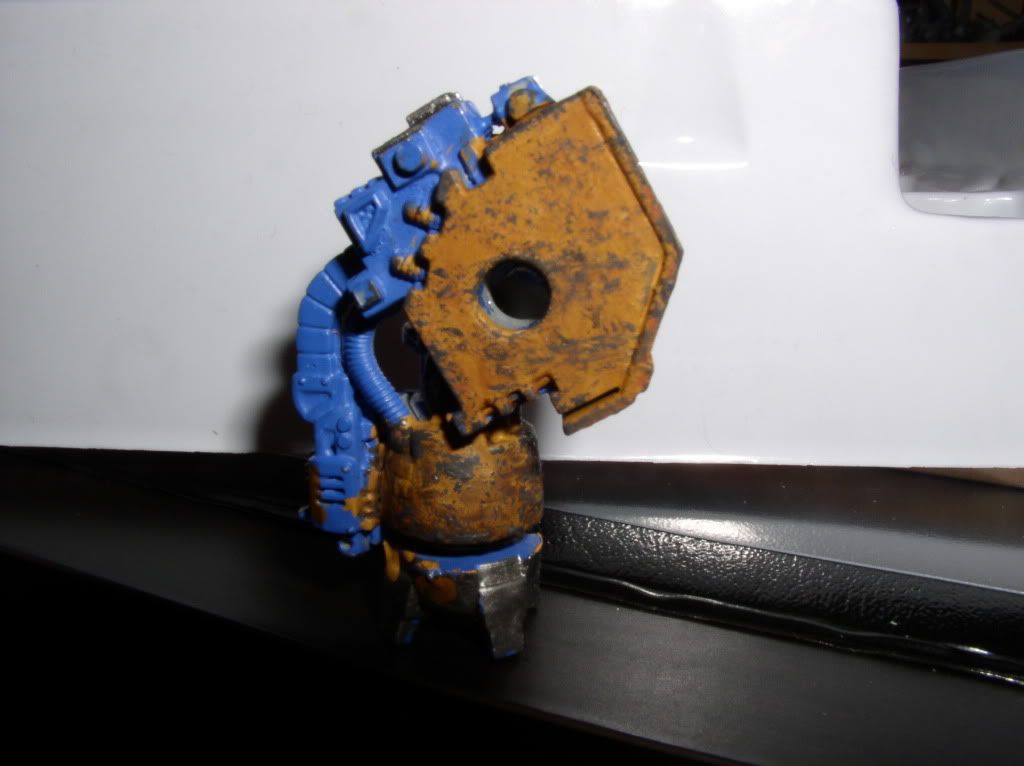
One finish :
Thanks you !
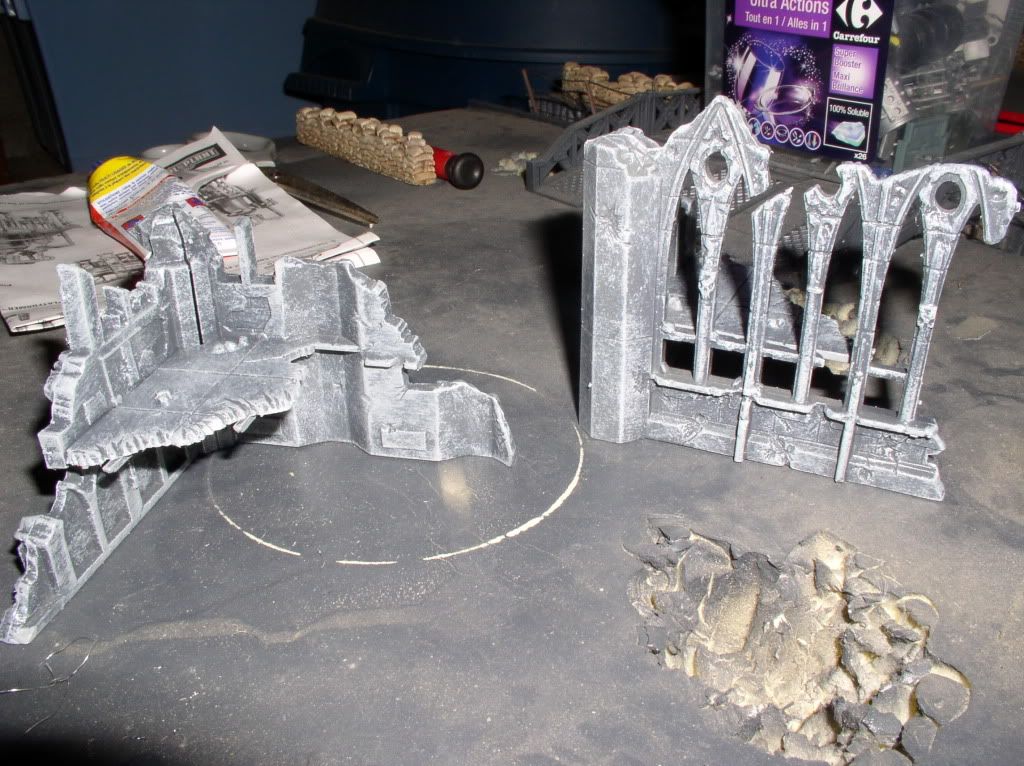
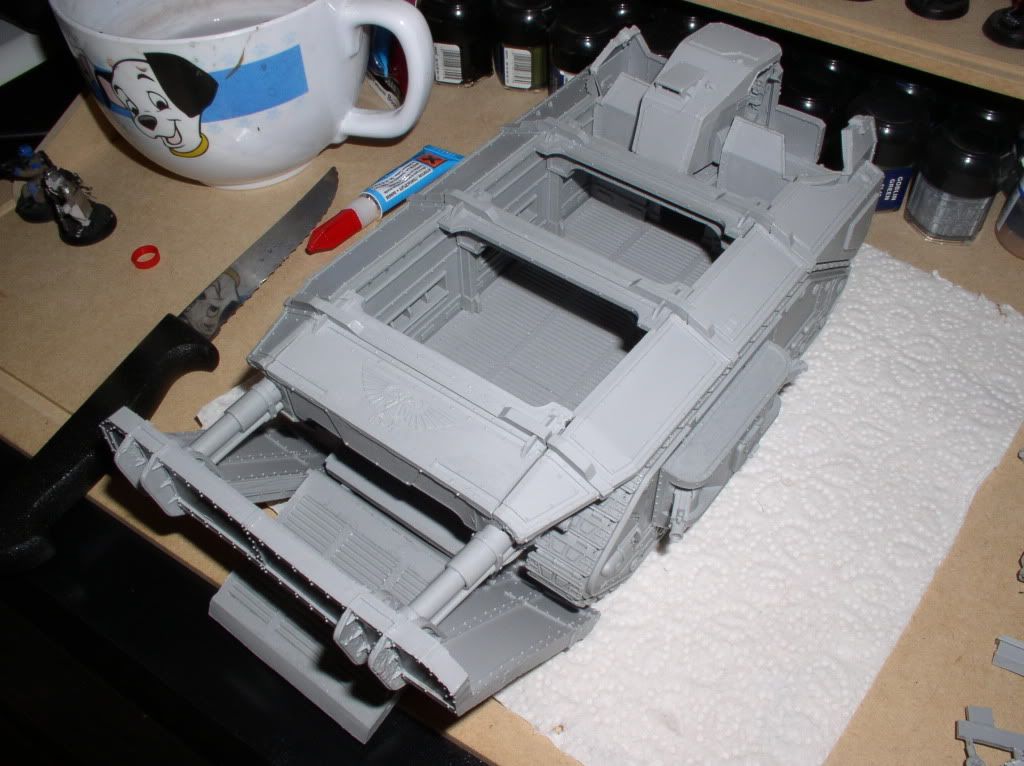
Ps : I will soon receive the Gorgon armored assault.
Well, I started directly with the photos:
Comments are not banned ...
My window:
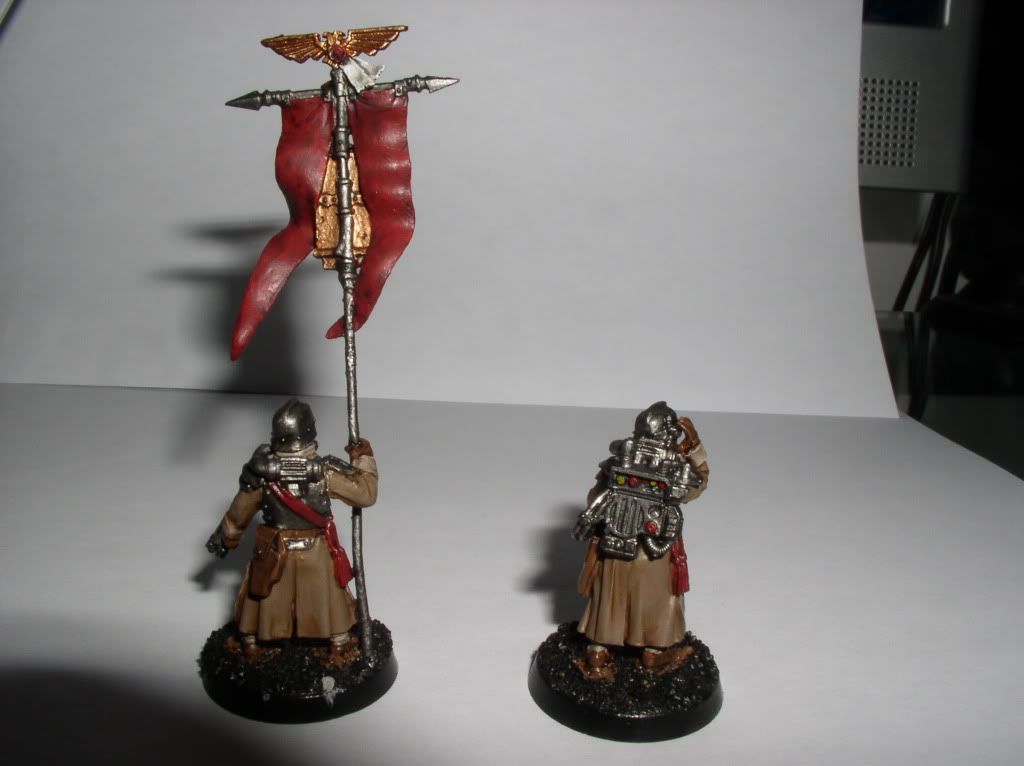
Death Korp command squad :
Ralting :
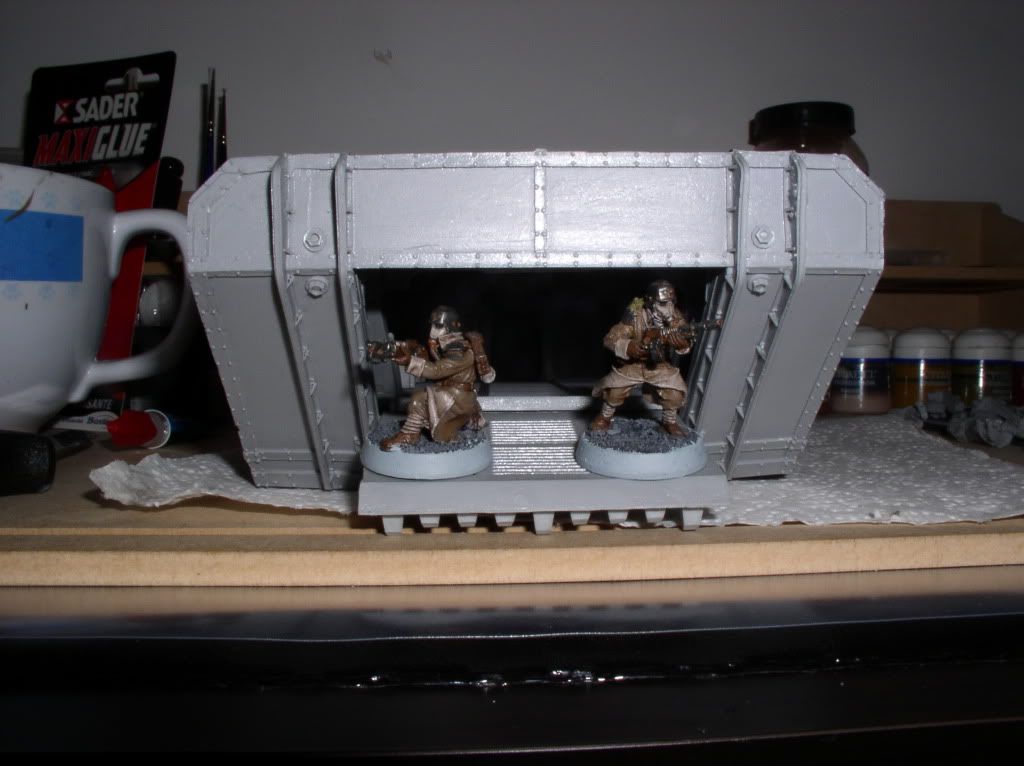
Death Korp firing squad :
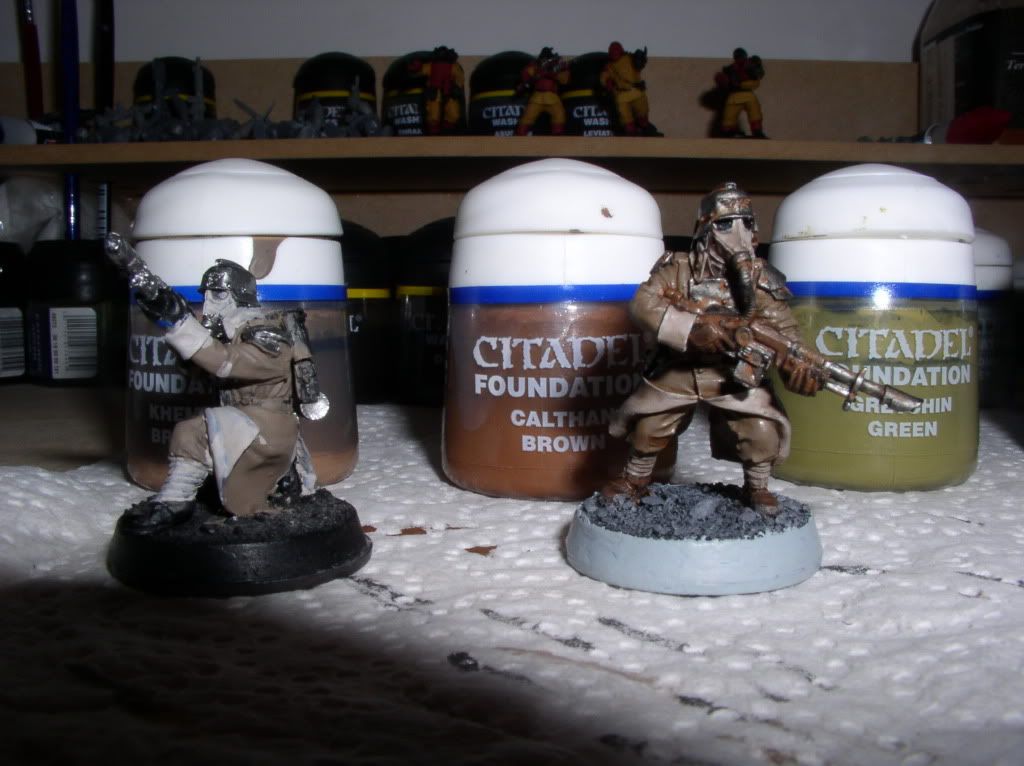
Cadian with respirator :
Renegad militia squad :
One finish :
Thanks you !
Ps : I will soon receive the Gorgon armored assault.


") !
!