Sukigod's All-In-One Painting Log

Tin-Bucket

New member
I know it might sound trivial, but you might need to either thin down your paint a bit more or adjust the air pressure. I see you keep window cleaner next to you, so no point on pointing out spraying this in order to clear your airbrush between colours.:glasses-nerdy:
My guess would be to thin your paint a bit more.
 

Sukigod

Member
Thanks Tin-Bucket.

I might have been a little guilty of trying to do each coat in one pass.... I really thought it was thin enough, but experience taught me the same with thinning paints for brushing, thin it more i guess.

I'll be trying another color tonight (Tamliya X7) over the top of the Blood Red - the Blood Red is a bit orangey bright for me, the Tamiya is closer to a bright fire engine red, which is where I want my mid-ranges to be. I'll thin this down even more just to experiment.
 

Sukigod

Member
OK. Now that the Big MEk Challenge is over (I'll post some stuff here when Uber gets back to me) i can turn my obsession over to something else. And this is part of that something else.

apoc1.jpg


What ever could I be doing with these? Bwahahahahaha....

By buddy and I are hosting/running an Apocalypse demonstration in October, that gives me three months to convert these bad boyz into some serious orky firepower. I've already got two fighta bombers and a custom made unit called the Brain Krusha (basically a static soopa kannon). To this I plan on adding...

2xSkullhammas
2xCustom Battlefortresses
2xFlakkadakka Trukks
2xBig Pulsa Rokkits

I'm not going to try and knock these outta da park like I do my regular stuff as I'll most likely only get to use these things once or twice a year (if that) so these will be fairly quick and dirty affairs. I am using my stock battlewagon as a test platform for painting to see how quickly I can get something painted up.

These will also be a nice set of additions for Spearhead, which my friend and I (IG motorpool anyone?) are chomping at the bit to throw down with the new rules.

Looks like Summer of the Aporkalypse is upon me!

Later!
 

Tin-Bucket

New member
that's lots of stuff there.. Can't wait to see the conversions. How did the airbrushing go on? Did you thin the paint down?
 

Sukigod

Member
The M.O.B.A.T. still run?
That could be fun on the gaming board. hehe hehe.

Yes, it still runs. Both large tanks have working electronics in them that I'll leave in working order - should be fun.

Now that the Big Mek Battle is over I will post the finished photos here and some comparison shots - they may come in multiple posts. For those interested, and my posterity, here are the contest threads

Running WIP Thread:
http://www.the-waaagh.com/forums/?showtopic=45420

Voting link:
http://www.the-waaagh.com/forums/?showtopic=46326

And now, onto the photos...

wazdakka001.jpg

wazdakka002.jpg

wazdakka003.jpg

wazdakka004.jpg

wazdakka005.jpg

wazdakka006.jpg

wazdakka007.jpg

wazdakka008.jpg

wazdakka009.jpg


I'll drop some comparison "vehicular Barry" shots in the next post.
 

Sukigod

Member
Here are some size comparisons of the Wazdakka Gutsmek model with a few of the regular stock Games Workshop vehicles.

waz68.jpg

waz69.jpg

waz70.jpg

waz71.jpg


Yes, he's pretty big - he does live on his bike ya know!

Anyway, glad he's finished, gonna start using him and see how the biker lists fair around here and just have fun as usual.

Later!
 

Sukigod

Member
OK, back to the stock battlewagon!

Here's a progress shot of the chipping. I started with a stippling of Scorched Brown mixed with Chaos Black.

sbw10.jpg


Then I went over the entire wagon by hand and brush with Boltgun Metal. The reflection of the metallic is much brighter than real life but it still looks pretty good.

sbw11.jpg

sbw12.jpg

sbw13.jpg


I did forget to spray some glyphs in white in a few places but won't sweat it - it's a test piece, not like I don't have more to try things out on. I've gotten the parts that are going to be solid metals blacked out and some white areas like the teef on the ram adn the face on the periscope post and a few panels for accent to break things up - just haven't taken picks yet as I'm too tired/lazy right now.

Not too much left to do to this really: the undercarraige will be mostly dry brushed Tin Bitz and bolt gun, the exhausts weathered, the tracks and tires attended to and do the deff rolla and then I can wash the entire thing down with Badab Black through the airbrush.

Later!
 
E

Empchild

Guest
I love the deep rich look of your red, and all of your conversions onto the vehicles. Great work and I am definately a fan.
 

Sukigod

Member
Here's my "Once a Week Update Whether I Need It Or Not" update.

Been griming out the new stock battlewagon with a few techniques from the Forgeworld Masterclass book. I'm not apllying all of the techniques, just testing things out. Here's where it stands now - including the first layer of drybrushed Tin Bitz and Boltgun Metal on the tracks - no greasing up those yet so their pretty bright. Some of the airbrushed Badab Black is still wet in a few pics.

sbw14.jpg


sbw15.jpg


sbw16.jpg


sbw17.jpg


As I've applied each of the different techniques I realize the first time I do them (which ever one it is at the time) it's always a bit heavy handed, too much paint usually. Gives me the experience though to know how much to put down to achieve the effect I'm looking for down the road. The grease/dirt rain streaks coming down from various rivets is a good example of this. The chipping effect is another, a case where a little goes a long way but you gotta overdo it the first time to realize it.

Applying these kinda effects to the superheavies I'll be working on next should be fun!

Later!
 
E

Empchild

Guest
you may say heavy handed but I think those rock!!! Great job really, and if you don't mind my asking(you may have said before) what were the reds you used?
 

Sukigod

Member
Thanks everyone. I think my best modeling quality is patience - and I don't mind if I screw up once in a while, it's how I learn best!

Empchild: Believe it or not, there's 4 layers of red on this thing. After black primer, I base colored it with Mechrite Red. Then layered Red Gore, then Blood Red. Blood Red was way to bright and orangey for my tastes so I went over it with a thin coat of Tamiya X7 Red. A very vibrant and strong red with no blue or orange shift what so ever. Hard to tell with all the weathering in place but it was pretty screamin' red before the distressing.

I'll be touching up the metals to bring a little more shine back to certain areas to simulate more recent scratches/damage and painting up the little stuff like exhausts and the filter canisters (or what ever they are) on the passenger side, but the main body is pretty much done.
 

Sukigod

Member
Started the work on the pair of Skullhammas tonight. Figured I'd get the armaments doen first, then I can just slap plates and rivets and call it good. I spent about 20 minutes sifting through 4 big buckets of parts and came across these parts.

skullhammas1.jpg


I just new I'd have a use for these some day.The square bits are the packs some brands of disposable contact lenses come in - yes I kept a lot of the foil seals from them too. They will make great realistic metal plates and thin bent metals! The caps are from the automated shower cleaner bottles. Yep, I scavenged those too. It's easy to collect these kinds of things and just throw them into a box and leave'em til ya need'em. The repetition in these kinds of things is what lends an air or function to using them in scratchbuild/kitbashes. Industrial Light and Magic uses the same techniques when making thier models for movies.

I decided to knock out the twin linked big shootas on sponsons as they contain the most fiddly bits.

skullhammas2.jpg

skullhammas3.jpg

skullhammas4.jpg


Last picture shows the half finished sponsons poster tacked to the tanks. All I need to do to finish them up is some plates ib the back and side and some angle iron over the edges with rivets and I'll call-em done. Oh yeah, a little hatch for the top of each! The little well where the contact rested make perfect hatch circles - neat!

btw - don't expect these to be super detailed like the other work I produce, I'm purposely moving fast on these as I won't have time otherwise to finish all of the models I need to by the beginning of October and I'll probably only use them once or twice a year.

Later!
 

dewil

Member
This ha's to be my favourite blog on here =) Really nice work on everything.
And yes the bigger the better, loud and killy is good too ofc =)
The chipping on the vehicles look's really good, i need to get mine to look more like it.
Keep up the brilliant work, it's always a pleasure to take a look at em.
Have fun with the skullhammas, wish i could find toys like that to chop and cut.
 

Sukigod

Member
Seeing as I have almost 1750 worth of beakies laying around, I figured I'd get to doing something with'em.

"But wait!" you sya, "If you're working on these, you're not working on the ork Apocalypse superheavies!!!"

True, but I'm working on these boys in small doses when I've got 5-15 minutes here and there. I won't be dedicating significant time till the Apoc units are done. I'm planning on using this as a "just playin' around army" for learning and trying other painting techniques. Besides, how am I going to learn how to paint anything other than reds and greens? (and I'm not going bloo or yella)

The guys were already primed so I ran Necron Abyss over them with the airbrush (I love that thing) for the base color and and did a quick zenithal highlighting from above with Enchanted Blue. I originally did a 50/50 test using half the troops with Enchanted Blue and the other half with Mordia Blue. Knowing the brightness will be knocked back quite a bit with the finishing Asurman Blue wash, I decided to go with the brighter Enchanted Blue.

Here they are in their bluey splendor.

aobr1.jpg
 

Sukigod

Member
Traitor!!!!!

I do believe you're batting for the 'nids now, aren't you? ;)

And you weren't even an original ork - if I'm not mistaken, you played (or at least painted) for the Greater Good when you started, didn't ya?

(I know you recently bought lootas and are adding more - once it gets under your skin...)
 

Sukigod

Member
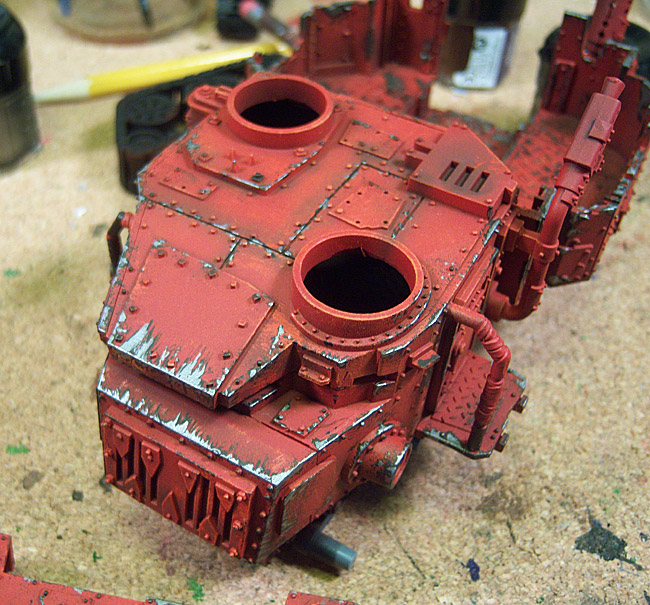
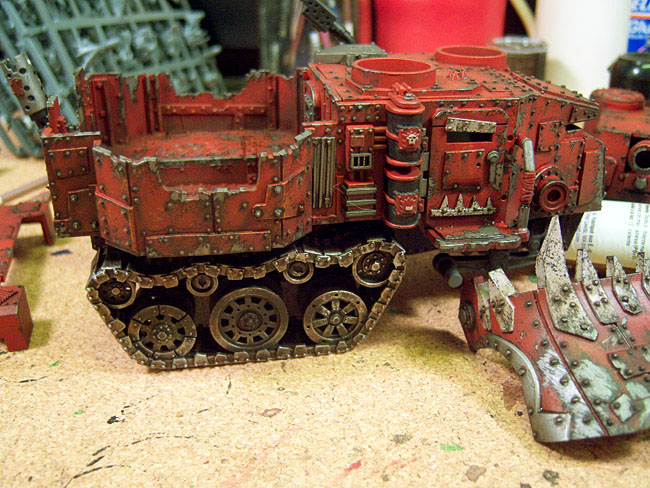
YEah, yeah, I know. I feel bad enough. Guilt over with.

Did the highlights yesterday while recovering from a nice night out so some of highlights - heck, most of the highlights are a bit wobbly. What, they're only beakies - right?

Here's a comparison before (the models on the left) and after highlighting with the Enchanted Blue.

aobr2.jpg


And here's the bunch after the Ice Blue highlights.

aobr3.jpg


Learned a bunch of things about painting Beakies and opened up a few more cans of questions about markings. Need to do some more research about what is and isn't red on the shoulderpads. Are the terminator cruxis red as well? do you paint the entire trim and the arrows on the right shoulder (from AoBR so they're molded on) red too or paint the arrow white and the trim red? highlight the trim in Ice Blue and arrow red? GaaaaH!

Oh well, I'll work it out. Here's the closer shots of the tacticals and termies.

aobr4.jpg

aobr5.jpg


I do like painting these terminators, the regular Beakies are going to get boring reeeaaaaallllly fast. Thanksfully I'll never paint anywhere near as many of these as I have boyz. Whew!

Later!

btw - the last photo is VERY washed out, the previous shot of the terminators are much closer to reality as far as colors and vibrancy goes.
 
Last edited:
Back To Top
Top