Sukigod's All-In-One Painting Log

Sukigod

Member
Thanks everyone! It is good to be back :)

This first phase will be pretty boring, painting it up kinda like new. Then I get to go to work on weathering, the fun part! I should have the base metallics and pattern details worked out by the end of the weekend. Sucks but as many of you know, the longest part is ALWAYS the prep to start doing the fun stuff. ;)
 

Sukigod

Member
Worked on the metallics today. I remembered a long time ago, Tamiya made a Gun Metal Blue that was really good looking for gun barrels. I figured I'd try to duplicate that on the many, many barrels these dakkajets have.

The base metal color is a 70/30 Boltgun Metal/ Abbadon Black (I miss Chaos Black). I find starting at Boltgun doesn't give me the depth I want in my metallics so I darken it down to start.

dakkajet4.jpg


I then washed just he gun barrels in Asuraman Blue Wash (form the semi-old line)

dakkajet5.jpg


A "wet" brushing of Boltgun to start the highlighting process. Wet brushing is similar to dry brushing but he brush is wet and the paint is thinned. It tends to eliminate the chalkiness that can happen from too dry a paint. I followed this with a wet brushing of with Chainmail (I've got quite a few old pots sitting around).


dakkajet6.jpg


A generous coating of Nuln Oil.

dakkajet7.jpg


Followed by a wet brushing of Mithril Silver.

dakkajet8.jpg


Leaving me with a rich, blu-ish (hard to tell from the photos though, it's metallics) with a layer of dirty grim and bright highlights. The highlights will be knocked down with the Testors Dulcote sealer. Here's a close up side by side for each of the above steps.

dakkajet9.jpg


I think I'll be starting the individualization of each plane next. Specific patterns and markings to more easily differentiate them and give each a little more character.

Later!
 
Last edited:

Master Splinter

New member
Thanks for the gun demo, I always have trouble using metals, even going myself for NMM this way. I like the flyboyz theme of the bomma. :)
 

Sukigod

Member
Wow, almost 8 months since I touched this thing. Sad really, I miss it a lot. That's what getting a second job and going back to school will do for ya ;)

With the break in school over the holidays (I'm teaching part time AND going to school as a student), I'll have time to devote to HOBBIES! YAY! What that really means is I'll be trying to do as much as possible, posting in a mad flurry of random, scattered stuff then quickly fade off as classes start in mid-January. First up: Da Blasta Bomma!

I know it's bad form to not post something without pics, but I wanted to take some time to basically "unarchive" my dormant threads so when I do have pics, they're easier to find. That said, I spent last night working out the patterns for the canopy - that last part I need to build before I can start painting the beast. I have my paper templates and built a first round test and learned a few things. Building canopies is HARD! I'll take a step by step (as usual) with me droning on about things I screwed up and how you can do it better than I did.

I'm also working on building an Imperial Guard army (very slowly) and lots of cool new terrain (some to hopefully house a SoB army down the road) so I might feature some of that as well, who knows?

It's good to be back, even if for a short time, I'll try to be as productive as possible!

Sukigod
 

Zab

New member
Whatever dude, it's not how you hobby - it's that you hobby! Looking forward to the flurry!
 

Sukigod

Member
Sometimes you get stuck, you come to a roadblock that you can't blow through with ease, something that stymies you for a good long time. That was the canopy for the blasta bommer for me. I've had time since I primed this beast and each time I looked at the canopy and was just blind as to how I was going to pull it off. Now, almost a year later later, I've got some precious time to devote to my hobby and damned if I was going to let it get away again!

I threw a bunch of ideas at the wall the last four or five days and finally decided upon a path to finish the build. Here's the overly explained steps in creating my canopy. Sure, there might have been easier ways to do it but I'm a fan of beating myself up until I figure something out on my own.

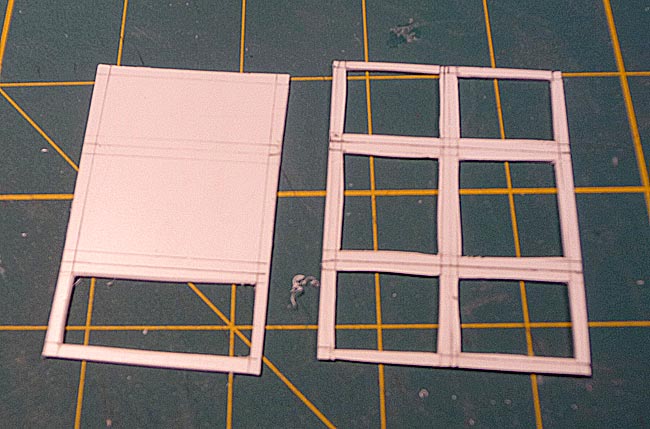
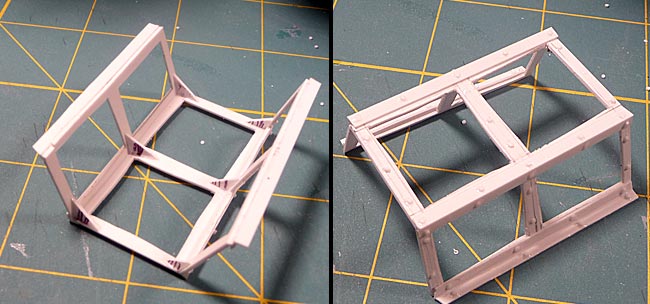
I used file card paper to construct a template (after many tries) and used it to make my canopy frames. Canopies are typically spindly, fragile pieces of metal held together by glass. Because of this fragility, I choose to lay each peice out flat and cut the window pieces out seperately, then score them where they should angle down. This gave the entire piece more rigidity while cutting out the windows.


bommer163.jpg


Here is each frame all cut out ready for scoring and bending.

bommer164.jpg


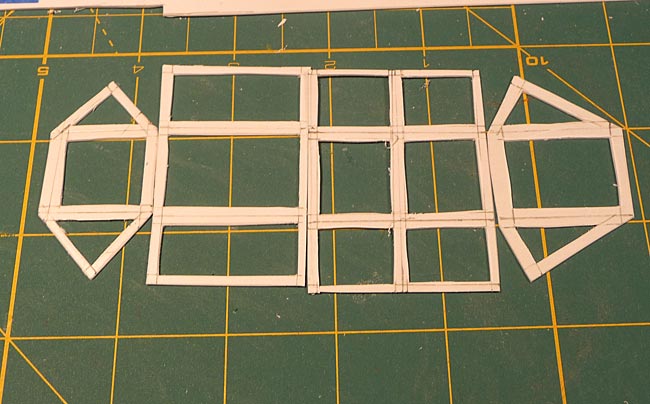
I cut little angled supports to add some structural support and to help keep the correct angle.

bommer165.jpg


I added some channel to the edges for support and looks, which also adds detail - a place to put RIVITS!

bommer166.jpg


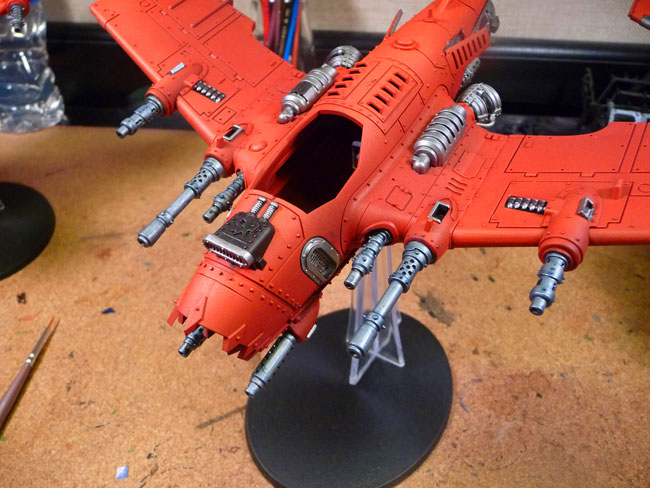
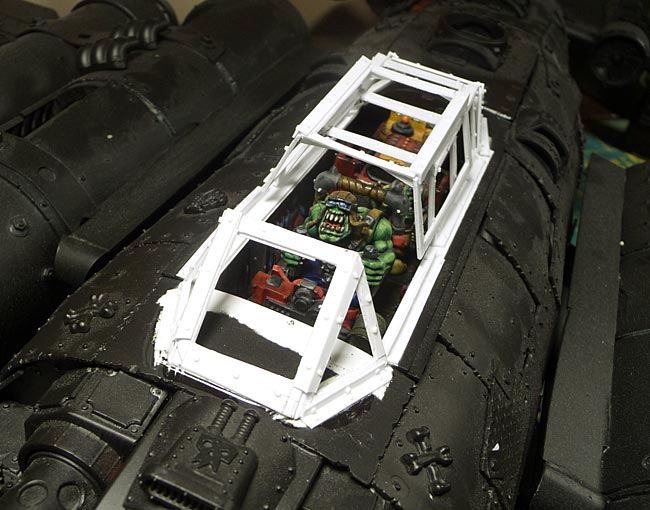
I've already glued the front windshield into place as I can reach the interior of it to add the glass after painting. Here's the other assembled pieces.

bommer167.jpg


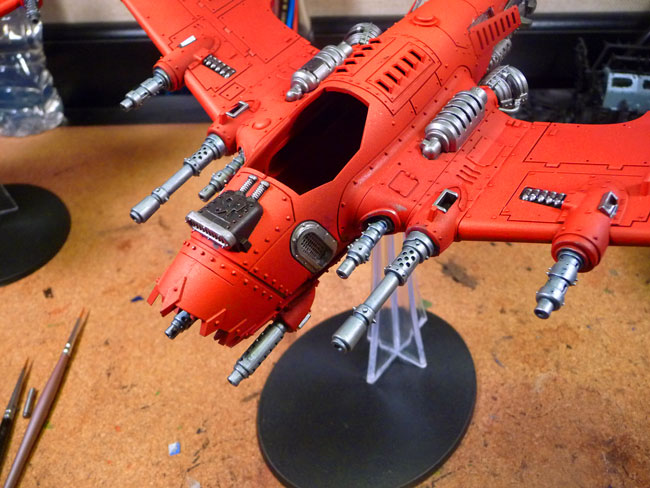
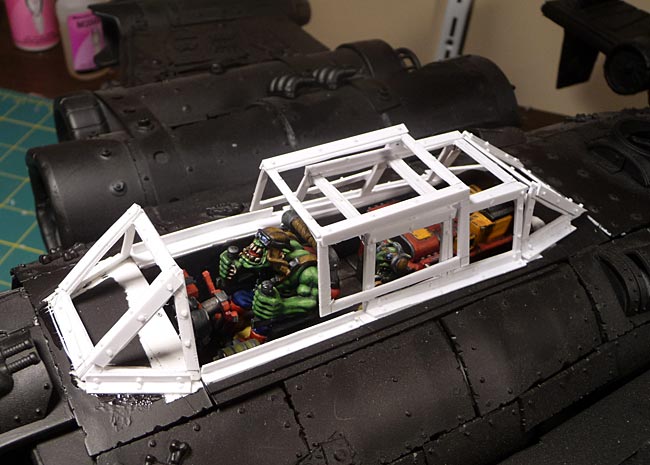
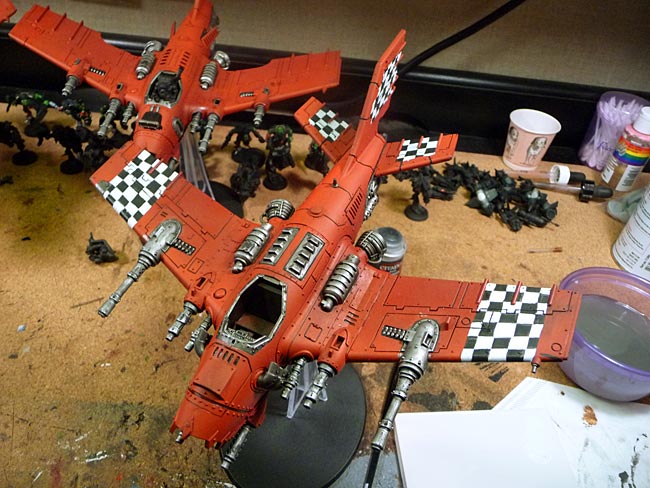
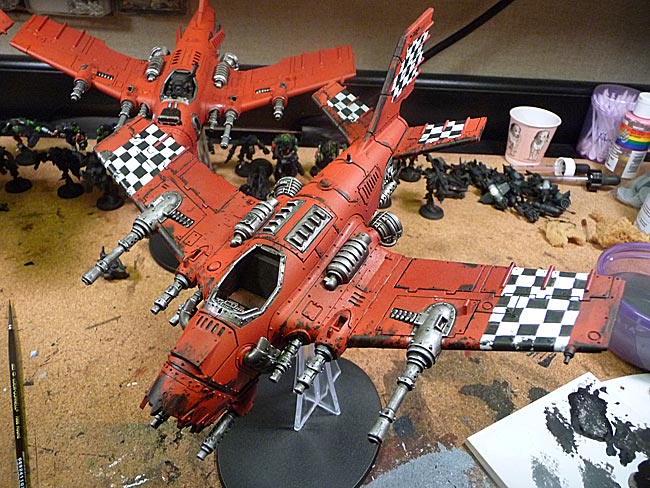
And the pieces in place on the fuselage.

bommer168.jpg

bommer169.jpg


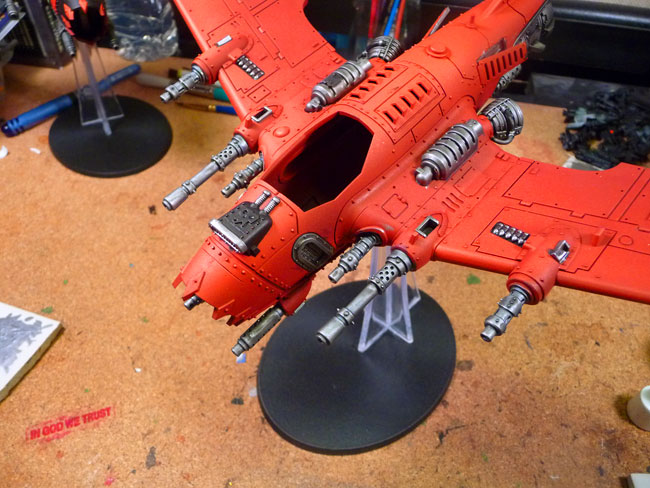
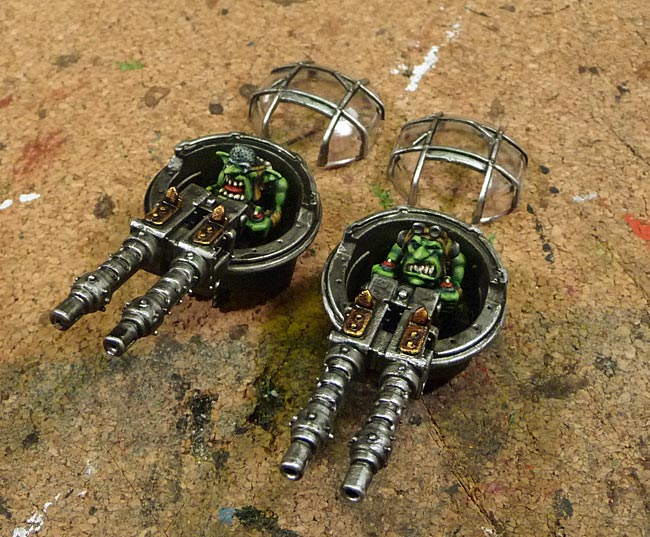
I'll be painting these parts by hand and when I'm finished, I'll be adding glass panes using white glue (it dries transparent without crazing) to finish up.

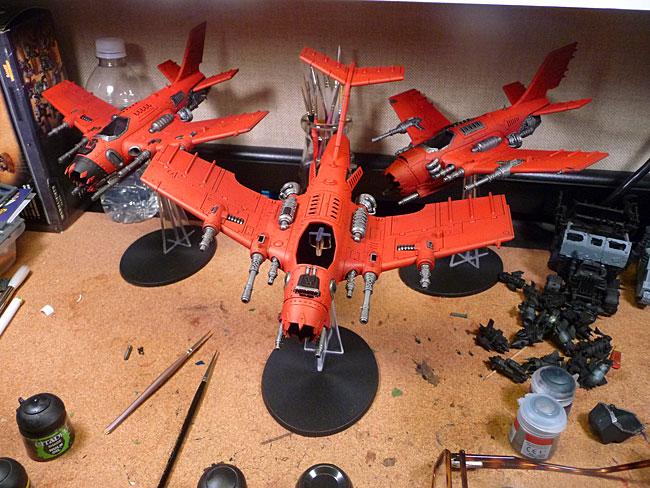
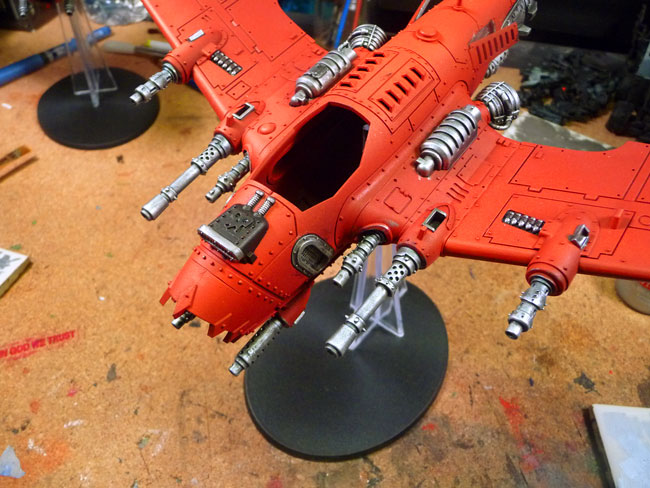
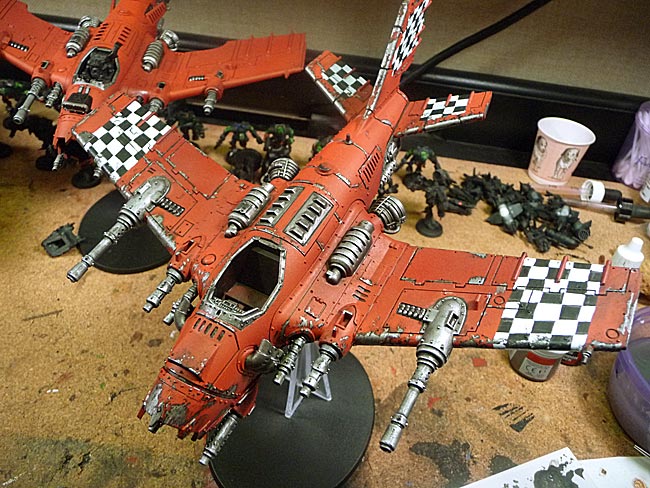
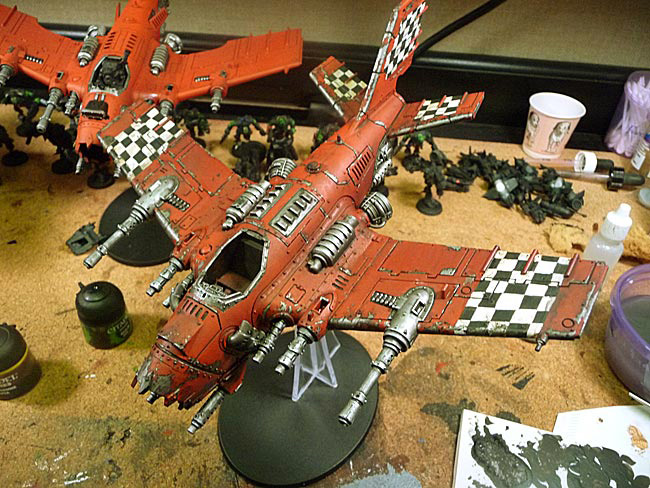
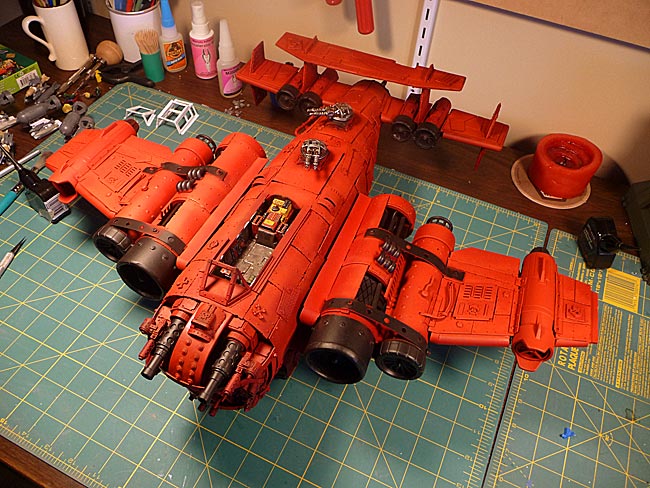
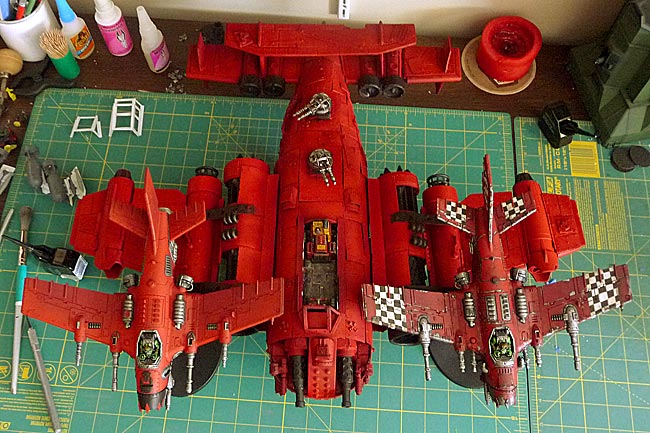
At this point, I can actually call the build on this pig done! On to some other color than primer black. :)

Later!

Sukigod
 

Zab

New member
Very nice. I would hate to see what you and Blackadder could come up with working together - or would I?.....
 

Sukigod

Member
Very nice. I would hate to see what you and Blackadder could come up with working together - or would I?.....

Thanks! I think Blackadder would school the crap outta me though ;)

Paint. Paint. Paint!

Sadly, only enough for the little grotty gunners :)

Finished up the grot big shoota gunner turrets and realized I've run out of Evil Sunz Red so the main painting of the bomma will have to wait until I have a chance to get to the hobby shop (hopefully tomorrow).

bommer170.jpg

bommer171.jpg


Not that I don't have other things I can paint - wait, I do! Three dakkajets I started ages ago are sitting there waiting to be finished. I've reached a point where I'm individually detail painting each jet to make them unique. There are two rites of passage for any ork player worth his/her salt when it comes to modeling and painting. Rivets and checks. I started the checks a while back but finished cleaning them up and did the base weathering tonight.

Cleaned up and ready for weathering.

dakkajet10.jpg


Black sponged wear areas...

dakkajet11.jpg


Metallics picked out out on wear edges...

dakkajet12.jpg


An application of watered down Gryphone Sepia over the checks - the brownish wash looks better over the white than the black og Nuln Oil, which was washed over the rest of the plane.

dakkajet13.jpg


While waiting for the washes to dry, I started the pilots for each plane - easier since they'll be painted primarily the same. Pics to come when I've got more than three coats of green on them ;)

Later!
 

Sukigod

Member
Wrapped up the pilots for each of my three dakkajets last night, presented here :)

dakkajet14.jpg


And he doesn't look too bad nestled in the cockpit. Just need to finish the widscreen and base it.

dakkajet15.jpg


In other news, the blasta bomma, "Moar Dakka!!!" is no longer black and appropriately fasta!

bommer172.jpg


And a "Barry" shot for scale, it's s little wider than two dakkajets:)

bommer173.jpg


Not sure how quick this will proceed but I know the next step is blocking out all the black/metallics as I didn't do a perfect masking job and there's lots of smaller details taht need to be picked out.

Later!
 

krom1415

New member
Love the large bomber conversion, looking really good.
One of my personal favourites the dakka model of late.
Keep at it !
 

Sukigod

Member
Just proving I'm not sittin' on my haunches this break...

Blocking out the metals by going over them with Badab black first - always base your metals with black, there's a very good and scientific/optical reason why they look better that way. If you're curious, let me know and I'll do a tutorial! ;)

This takes a long time to block everything out so be patient. I'm hoping to be doing stenciling and checks by weeks end.

bommer174.jpg


bommer175.jpg


Later!
 

Sukigod

Member
Ahem.

I'm back (for now ;) )

bommer176.jpg


Painted checks on the engine cowlings the other night. Now that schools over, I can devote a little time to Moar Dakka, and i look forward to every minute of it :)

Later!
 

Sukigod

Member
Yeah, summer is here and I'm down to just 40 hours a week and one class! yay! Hoping to actually finish the bommer this summer along with making some new terrain for this years Waaagh!Fest Pub Tournament.
 
Back To Top
Top