ORK Battlewagon WIP

Sukigod

Member
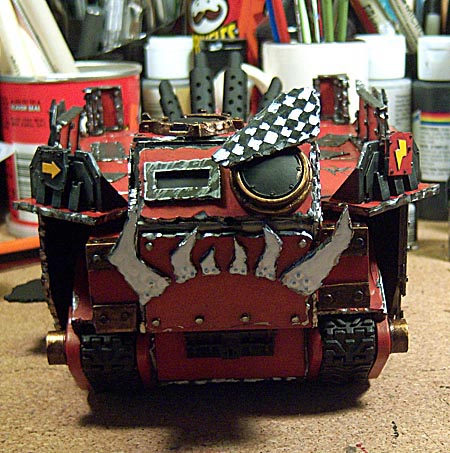
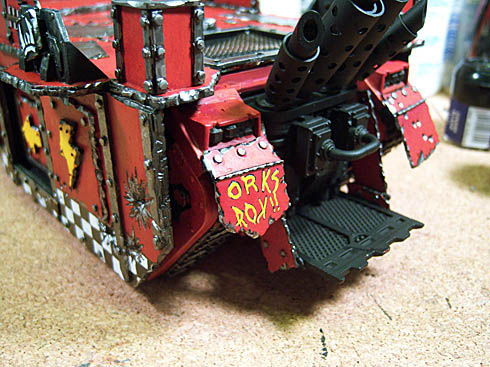
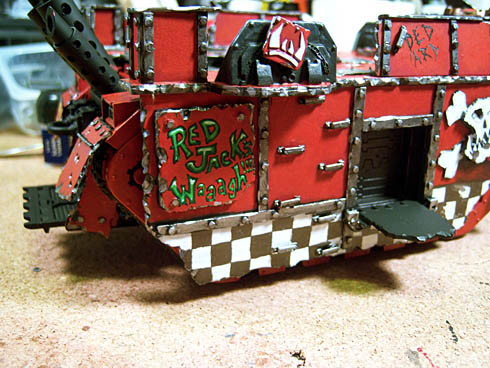
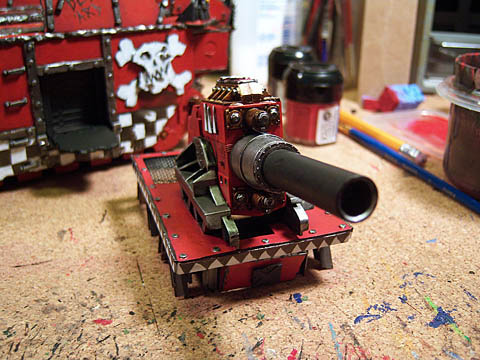
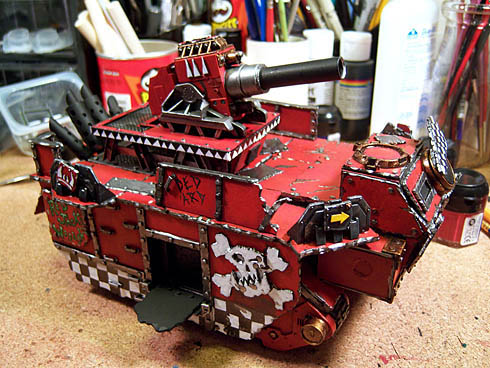
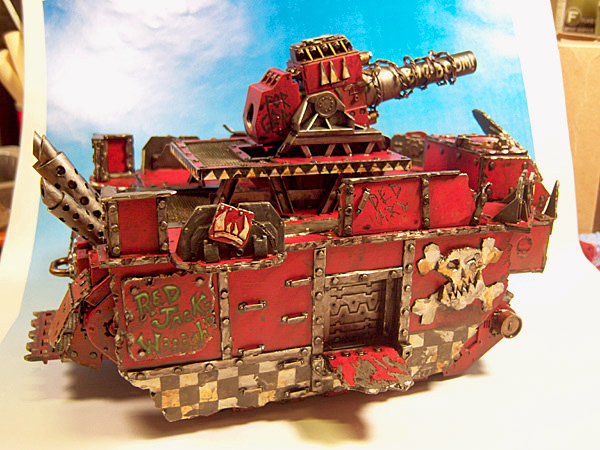
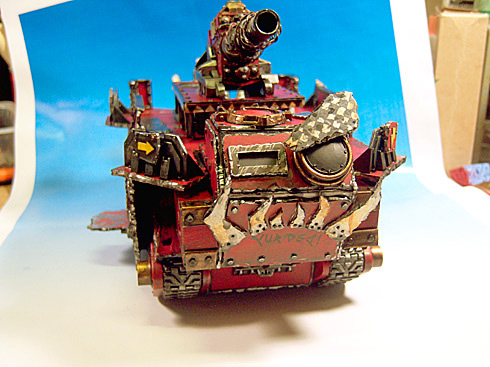
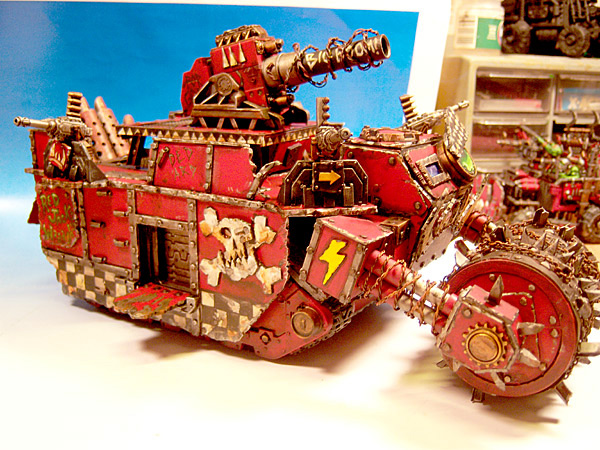
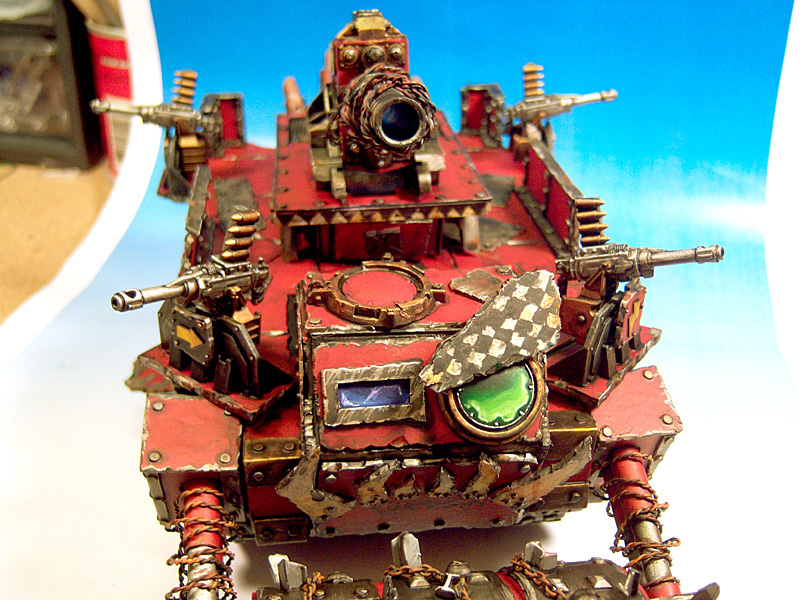
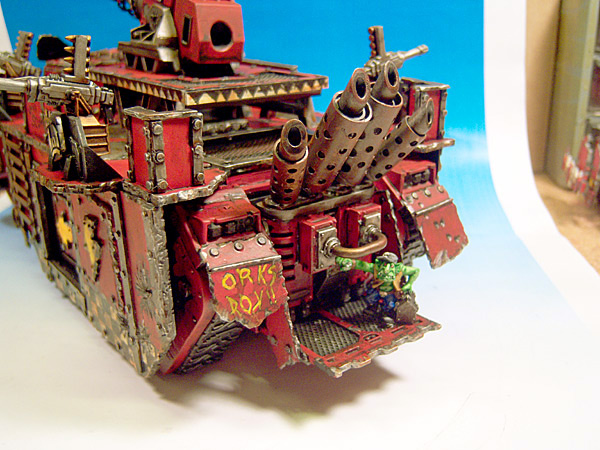
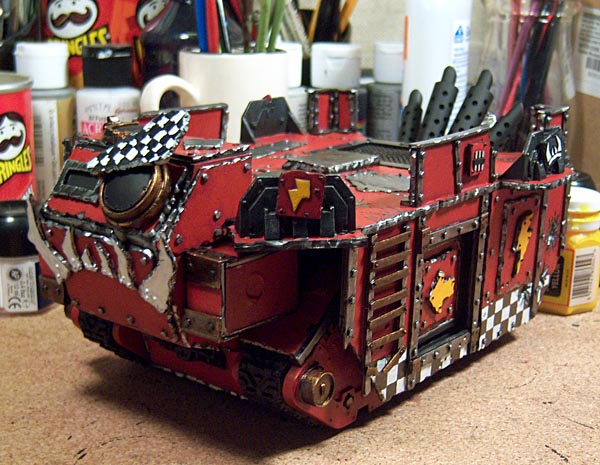
I\'m back from vacation and work has slowly restarted on Red Jack\'s Battlewagon. As I wrote in my blog yesterday, the battlewagon\'s in it\'s awkward stage where it\'s paint job looks too clean and parts are unpainted and it may be tough to envision what the end product will look like. That\'s alright, I know it\'s gonna rock when it\'s done.

I\'ve finally started on the details - checks and glyphs. There are some areas that are not started yet - the boarding plank, the rear deck and exhaust areas. This is because I\'m unsure what I want there yet. I\'m in the middle of over-anylizing how I\'m going to do he rust effect and how to paint the engine housing. I still need to paint the edges of the glyphs and do some research into what I want to put on the big open areas - I eft them open on purpose so I could scrawl graffiti on it, not sure what I want it to say yet. \"Die \'Umie Scun\" and \"Da Big Waaagh!\" are some of the ideas floating around in my head right now.

I know it\'s lookin\' all pretty and fresh looking but that\'ll change once everything has had a once over, then the dirt/grease/paint/blood will fly!
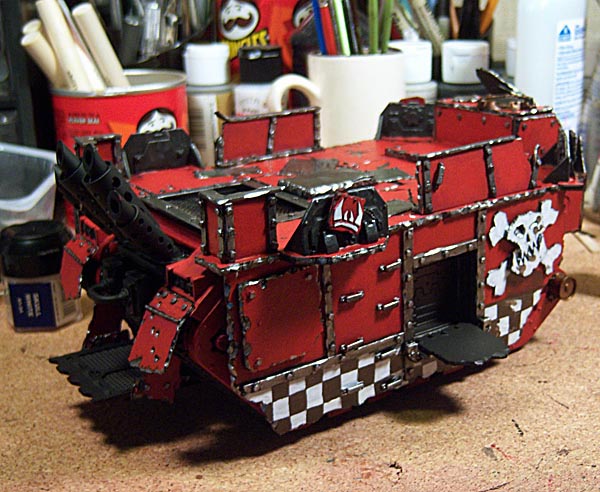
bw79.jpg

bw80.jpg

bw81.jpg
 

Sukigod

Member
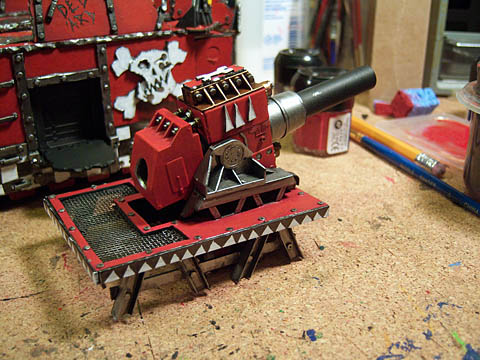
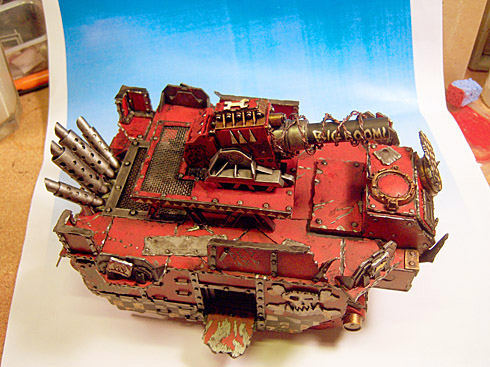
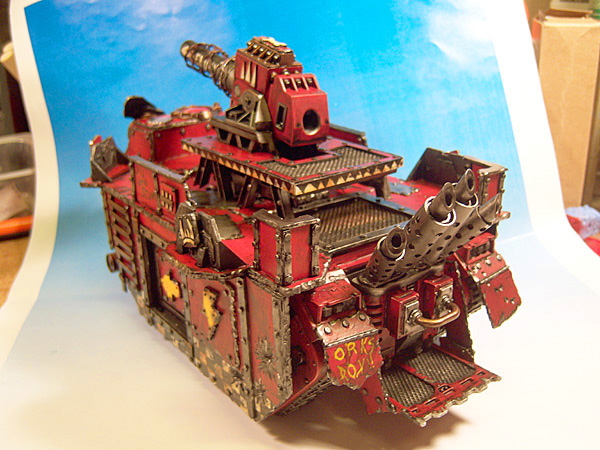
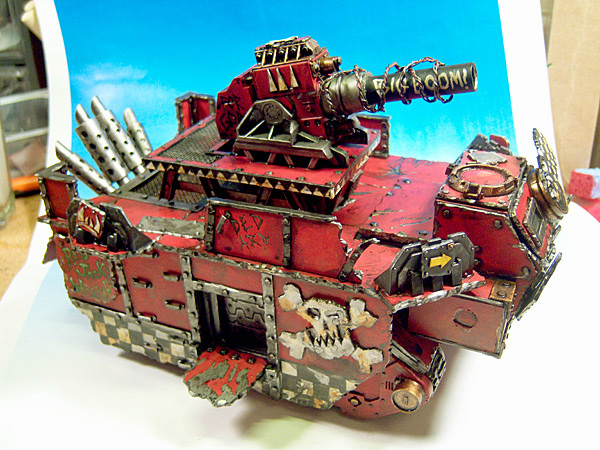
Made some progress this weekend on Red Jack\'s sweet new ride. Did some detail painting, adding some graffiti stuff and started painting the Kill Kannon. I\'m at an impass though. I don\'t know what I should paint the main barrel. Black? Red? Steel? The reason I\'m waffling is I will be writing something along the barrel (something appropriately orky, like \"BOOM!\" or something) and putting text over metallics will make it to hard to decern - I learned that on my looted Russ.

Sooo - I\'m taking suggestions, I\'m leaning towards red but open to ideas.

Here\'s how it looks right now...

bw82.jpg

bw83.jpg

bw84.jpg

bw85.jpg

bw86.jpg
 
More weathering, more weathering! I think it needs rust everywhere, especially on thet roller, exposed metal parts which have been chipped should have rust running off them, it\'d look cool imo, however i\'m not too sure about the eyebrow thing, i think it\'d look better without it (imo) great so far though. Here\'s a reference pic i\'ve used before

rust-repairs.jpg
Like that!!!
 

Sukigod

Member
Aliengod: taken as a compliment (could be a she as well) :D

The weathering bit will be done after all of the base painting is completed. I want to make sure the weathering looks like it happened after the paint and such was applied so it\'s getting painted (new car) style, minus the exposed metal edging and such, then the grime/rust layers applied.

I can\'t wait for that point as that will mean it\'s nearly finished! Waaagh!!! It\'s gotta be done by the end of Aug. anyway for a tournament - the pressure\'s mounting now. :eek:
 

Aliengod3

Active member
Compliment. That wagon is turning out amazingly well lol

Tourney in August? Are you going to Gamesday LA?
 

Sukigod

Member
Originally posted by Aliengod3
Compliment. That wagon is turning out amazingly well lol

Tourney in August? Are you going to Gamesday LA?

Thanks!

Sorry, no GDLA for me. It\'s just a local RTT - someday I\'ll get out of my little neck of the woods and do a big event, maybe Chicago, as that\'s the closest for me.

Thanks for watching/posting!
 

tring

New member
Where do you get your plastic tubing from I can\'t seem to find a shop that has it. :( Any online source would be good.
 

Sukigod

Member
Originally posted by tring
Where do you get your plastic tubing from I can\'t seem to find a shop that has it. :( Any online source would be good.

I purchased mine from a hobby shop that also sold scale model trains, which is where I see them most (at least in brick and mortar form).

You can also get them online - search for Evergreen styrene or Plastruc brands.

Good Luck
 

Sukigod

Member
Spent some quality time with the wagon tonight and finally got some dirt on it. I finished up some of the smaller details and little things I\'ve been agonizing over (hate it when I do that - they\'re jut little things...).

I made up a pot of magic wash with black and did an entire base wash and got it nice and dirty. I\'ll do another brown dirty wash to add some color to the grime before moving on to the rusty spots. This is gonna be fun! I will be out all next week with the missus on vacation so work will be put on hold till next weekend.

Later every one and enjoy!

bw87.jpg

bw88.jpg

bw89.jpg

bw90.jpg

bw91.jpg
 

Sukigod

Member
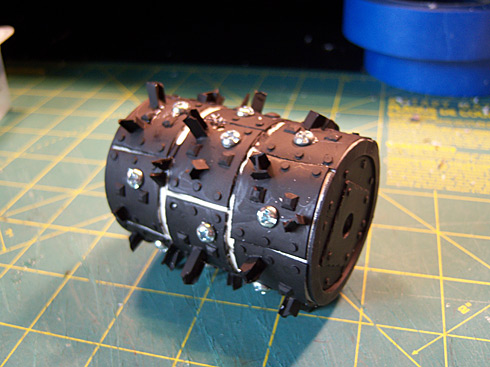
Ok, remember that deff rolla that went south on me a couple months bacK? Well, I finally forced myself to fix it. I had to as it\'\'s nearly the only thing left to finish!

bw92.jpg


As you can see above, on top of supergluing the plates in place, I\'ve screwed them down as well. Inelegant as that may seem, it\'s the orky thing to do (I\'m also all out of miniature duct tape). These plates will not be falling off any time soon.

bw93.jpg


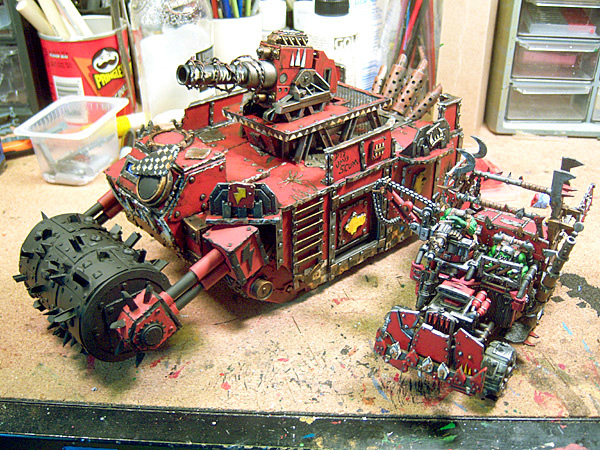
After some primer and some base painting red, here\'s a scale comparison shot next to the boyz trukk. Nice!

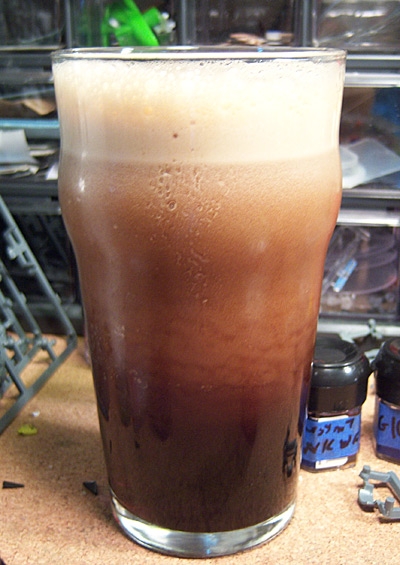
My favorite shot of the day is this one - reward for tackling the rolla.

bw94.jpg


Here\'s where it stands. I\'m out for a week, see ya then.
bw95.jpg
 

Vanskapt

New member
You deserve that Guinness and many more. I\'ve been watching this thread for months, and created this account just to tip my e-hat to you. Amazing work, and I\'ve learned a ton. Keep it up, I can\'t wait to see what else you have in store for us!
 

rosac

New member
ok, now finish the rolla properly :p

looks awesome, those punie ........ (<-insert least favourite race there) will never know what hit em.

waagh 4 ever.

rosac
 

squig hunter

New member
@Roger lol

\"I do say old boy, jolly good Waagh were having\" \"Oh indeed, them humies don\'t stand a chance, poor, civilsed things\" \"Oh, quite right, quite right, tea and crumpet anyone?\"lol

SQuig
 

Sukigod

Member
Originally posted by squig hunter
@Roger lol

\"I do say old boy, jolly good Waagh were having\" \"Oh indeed, them humies don\'t stand a chance, poor, civilsed things\" \"Oh, quite right, quite right, tea and crumpet anyone?\"lol

SQuig

Dat would be... \"tea and KRUMPIN anyone?\"

OK - On with the thread!

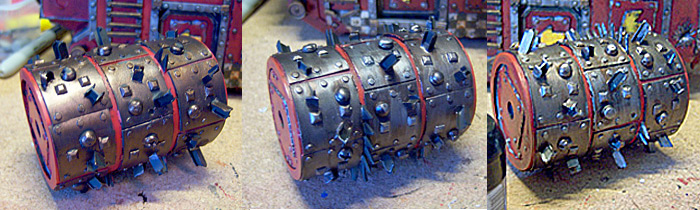
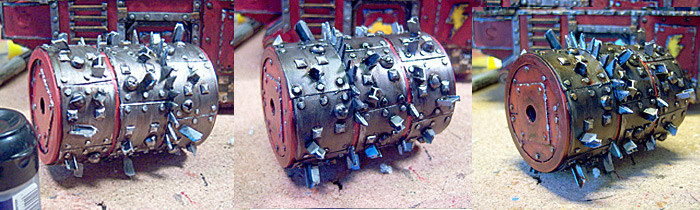
Deff rolla rocks. I\'ve actually taken photos during each step of the finishing of the roller. The plates started off with with a primer black base.

For the first two layers I used a wet version of dry brushing. The brush was wet and paint had been thinned down as normal, only I brushed the colors over tops of everything in very broad and almost all encompassing strokes.

bw96.jpg


IN ORDER: Tin Bits, Straight Boltgun Metal, hightlights with Chainmail.

bw97.jpg


IN ORDER: Mithril on highest highest parts and outlined edges and edges of spikes to give depth/dimension, first \"magic wash\" with black, second \"magic wash\" with Chestnut Ink.

The Mithril might seem, at first glance, to be a bit bright for an orky vehicle but my experience with washing and sealing with a matte spray (Testors Dullcote) one needs to bring your highlights up at least on or two levels higher than you think since the spray will knock back high spots considerably.

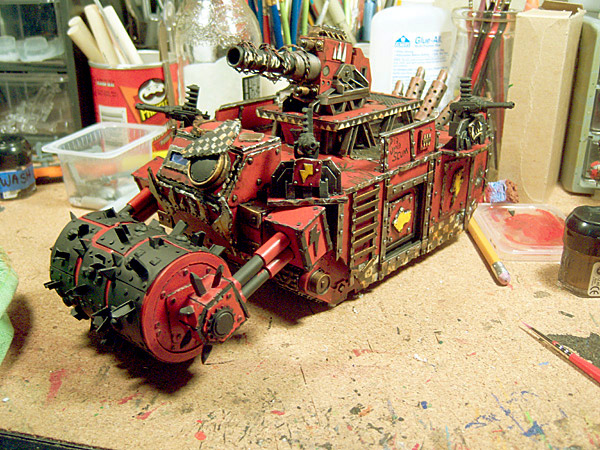
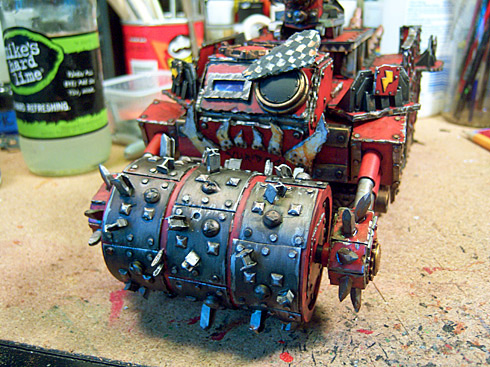
Here it is with the roller in place, I\'ve already painted to the arms to match.

bw98.jpg


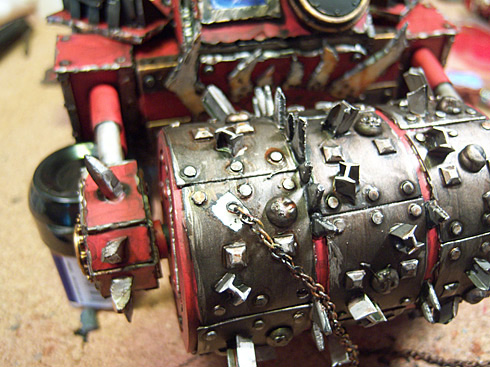
The rusted chain is your standard hobby jewelry chain primed black, wet brushed with Dark Flesh, Vermin Brown and then sparsely washed with Fiery Orange.

After test fitting the chain (meaning \"wrapping it around ten different times\") I found where I wanted it to start and end. I prepped the start/end points by scraping away a small spot down to the bare plastic so the glue holds well. I glued one end in place, wrapped the chain and glued the other end. The chain is spot glued down in a few areas to keep the chain from slipping too much and coming loose or slipping over the spikes and comming loose.

bw99.jpg


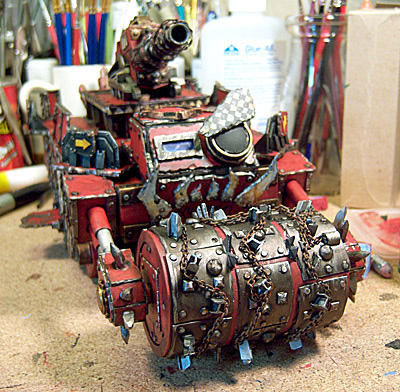
I then used a short piece of tubing cut vertically to create two end covers to protect the bolts that adhere the chain. At least thats by excuse - in reality it just covers the ugly glue down.

Here\'s the wrapped and painted roller.

bw100.jpg


The boyz got so excited at this point they just had to take the thing out for a ride. Mighty purdy dey iz! And yes, as per the 2nd Edition rules, it will hold 20 boyz.

bw101.jpg

bw102.jpg


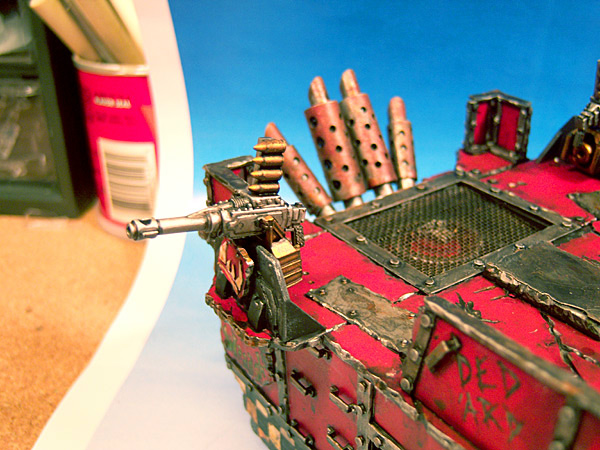
I\'ve got a few things to finish off before calling it complete - paint the spotlight \"eye\", paint the lighting bolts on the roller arms and finish painting the bolt-on big shootas. All in all, I should be finished with it this week.
 

Sukigod

Member
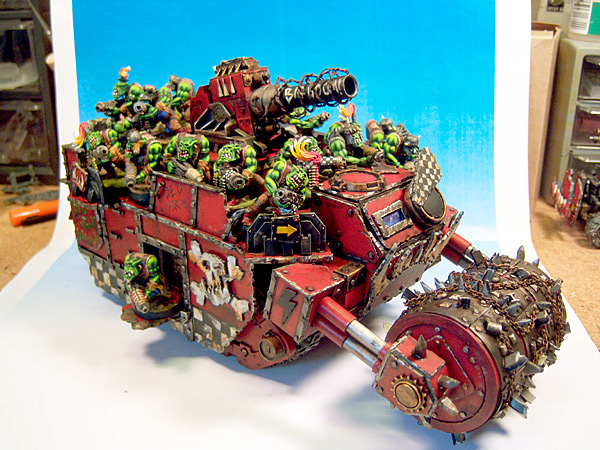
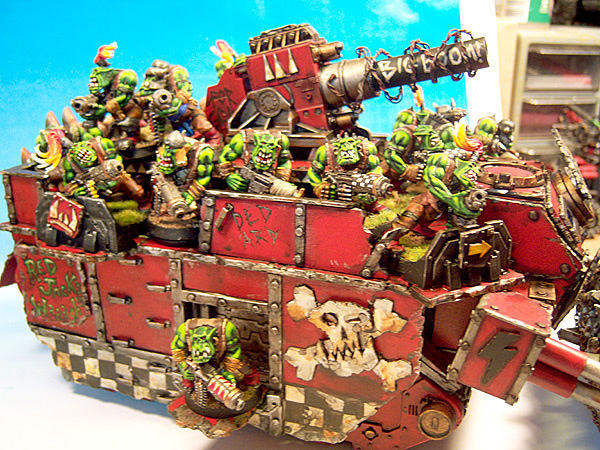
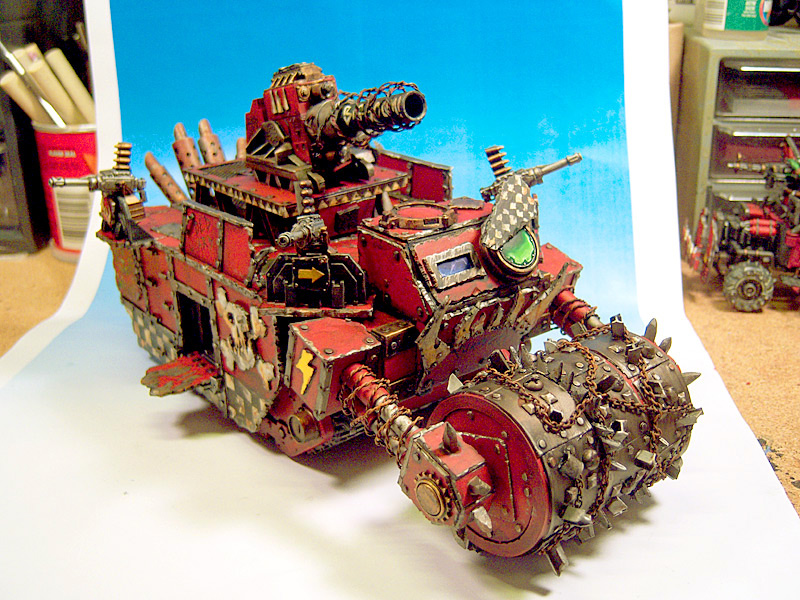
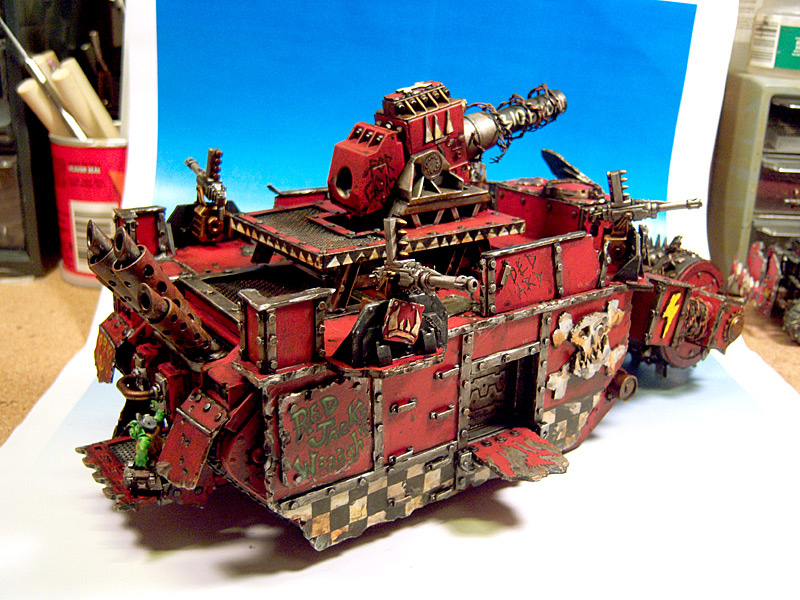
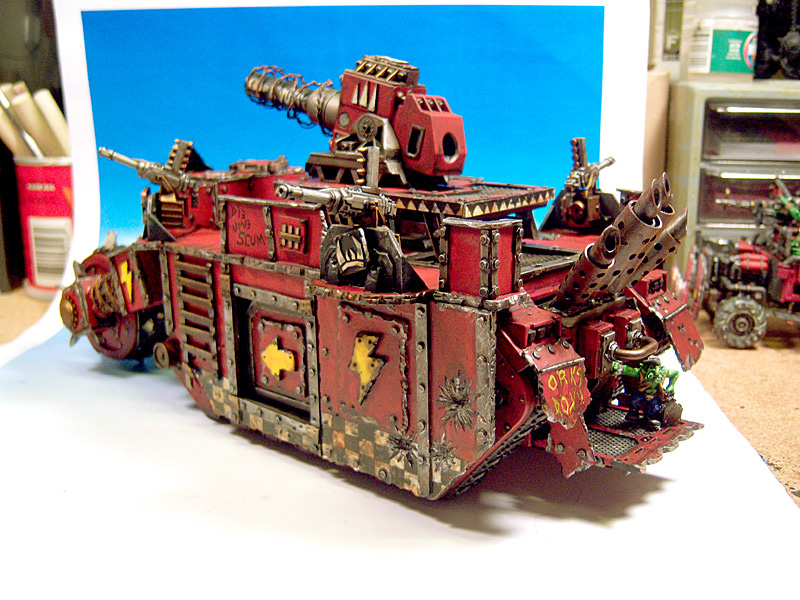
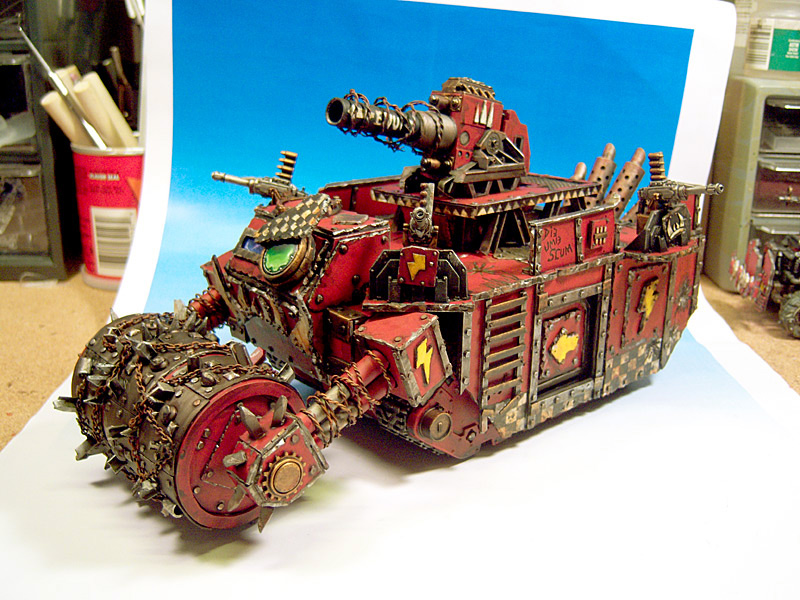
Well, 5 months, 114 uploaded photos, at least three pots each of Scab Red, Red Gore, Blood Red, Boltgun Metal and 5 pots of Chaos Black later, I\'m calling it finished.

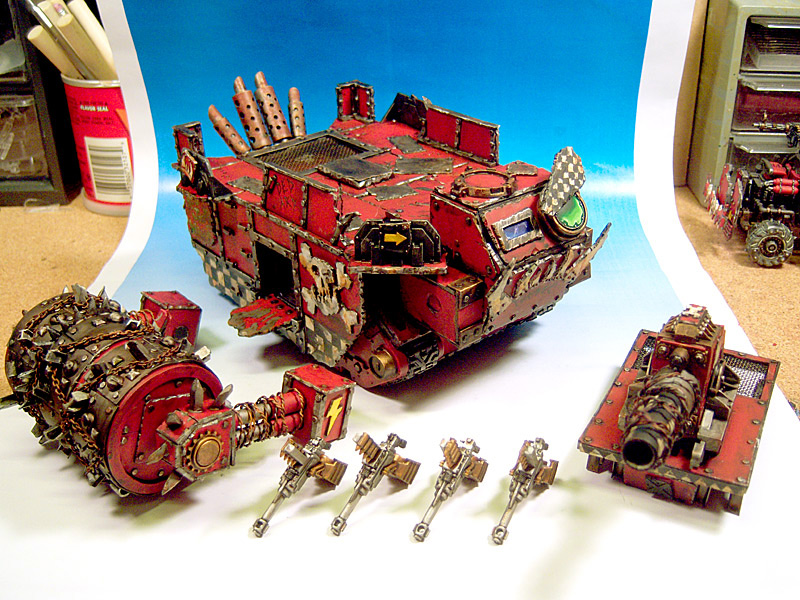
After looking at the boyz last joyride I noticed the hydraulic arms on the roller looked a little weedy so I wrapped them in rusty barbed wire and now they look a little more menacing. I finished the \"monacle\" (hehe) and glued down the grot rigger salvaged from my ex-Looted Russ.

Although I\'ve called it finished for now (I have a tournament in two weeks and it fits my loadout now) I do have plans for a few more add-ons such as a reinforced ram that looks like two giant Squiggoth tusks protruding out of either side where the roller attaches. I might actually make the \'ard case someday and I will make bolt on rokkits as well. Gotta love the magnets!

Looking around at comparable sized models I\'m almost thinking this thing could be the size of a Baneblade. I\'m still waiting to see one in person to make a comparison. If it is, I\'ll make this a Skullhamma variant and start work on the other tank models I picked up earlier this year to make more wagons/battlewagons until the official kit comes out next year.

Thanks to everyone who watched this thread and offered input - even if it seemed like I didn\'t listen, it was appreciated! I will be taking super-duper style picks for voting in the next couple of weeks and I\'ll come back here and post the voting linky.

And now, the quick and dirty finishing shots.

bw103.jpg

bw104.jpg

bw105.jpg

bw106.jpg

bw107.jpg

bw108.jpg

bw109.jpg

bw110.jpg

bw111.jpg

bw112.jpg

bw113.jpg

bw114.jpg
 
Back To Top
Top