War Griffon
New member
With that tank recovery vehicle and the rocket I though at first you were going to come up with a rocket launcer very similar to that done for Epic years ago ")
I love how the community pushes itself like that.

izzat a tank form the modular chem plant scenery set?Also, ar you going to stick something on the back of those grabbaclaw arms so that they don't look like they're floating? I can't really tell if they're permanently attached.
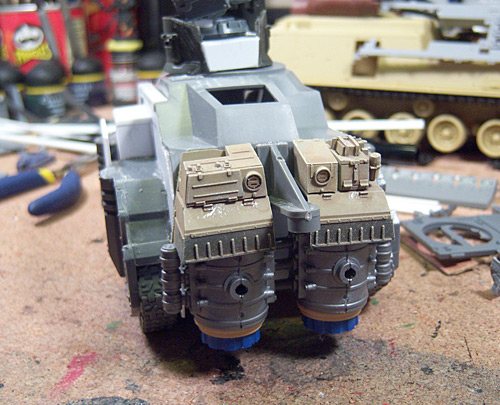
What are the nozzles from BTW?
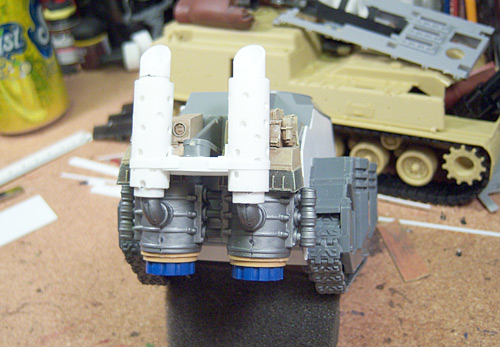
Yeah, this is a wip shot to get the gist of things. That's the next part is figuring out the connection point and dress up the deff rolla rightly.
The nozzles are part from a medical equipment manufacturer. A friend of mine is an engineer at one and he comes across quite a few bits and passes them on to me for my bits box. These are from remote catheter controllers - I'm just grateful they made them in different sizes!


I'm really looking forward to see it painted.


