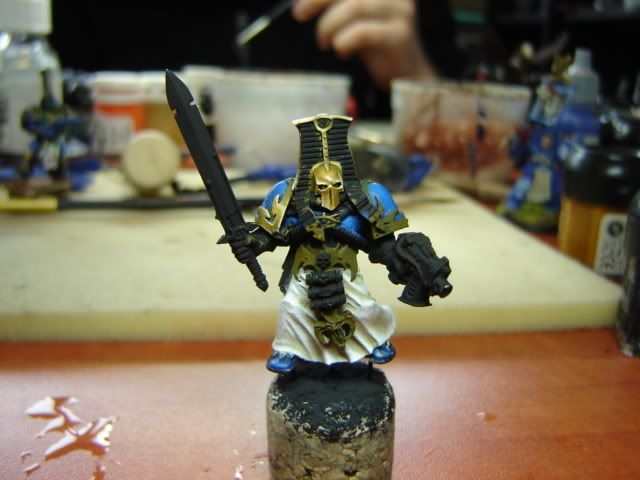
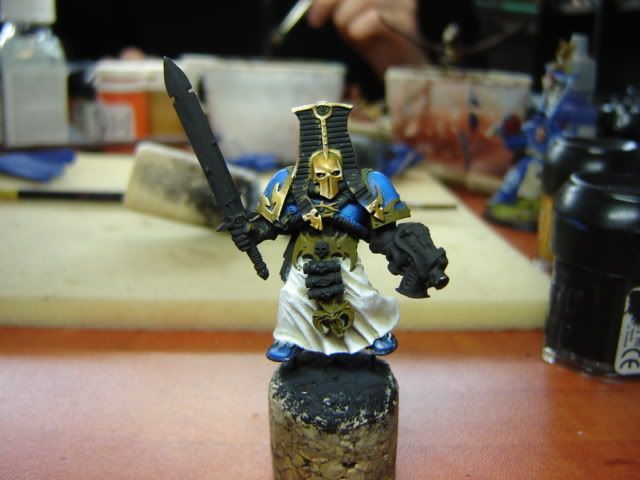
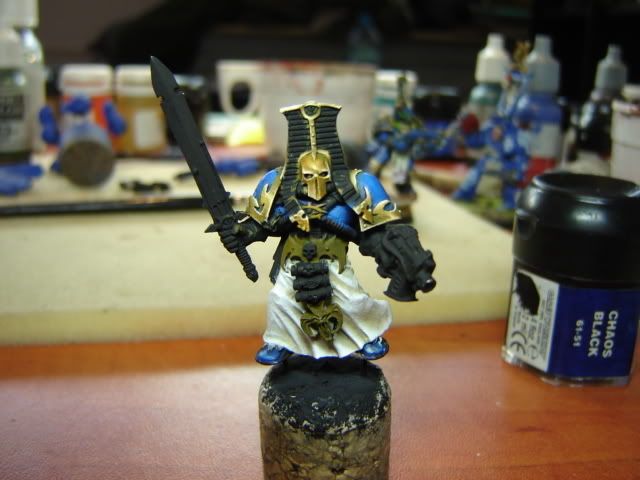
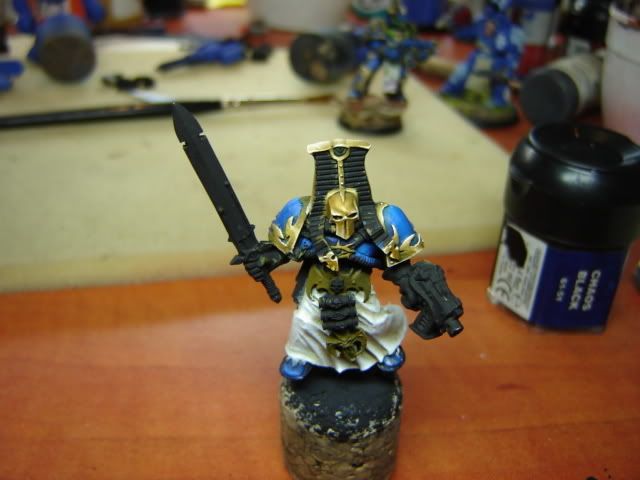
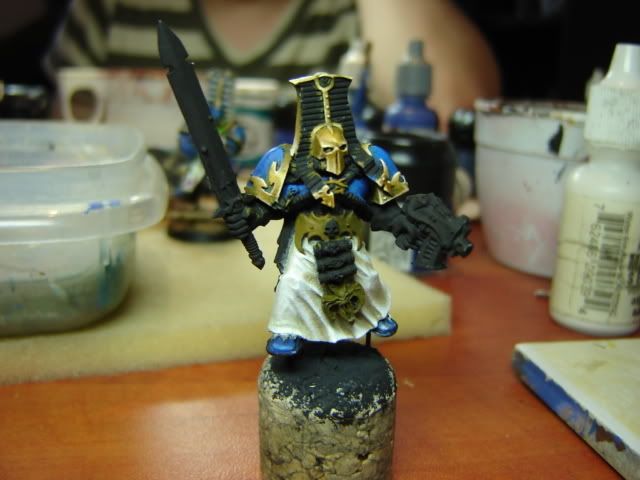
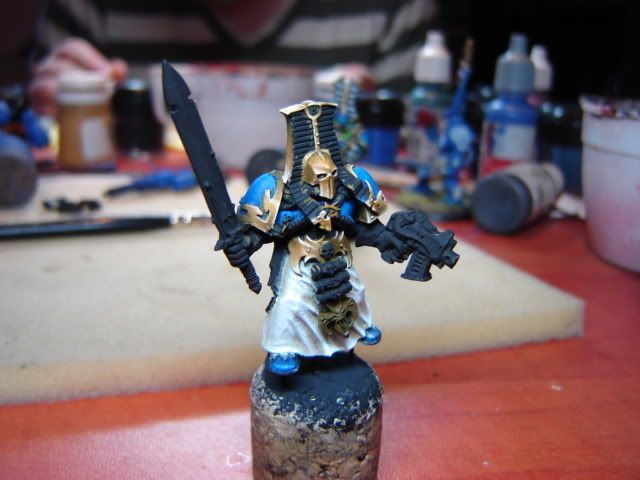
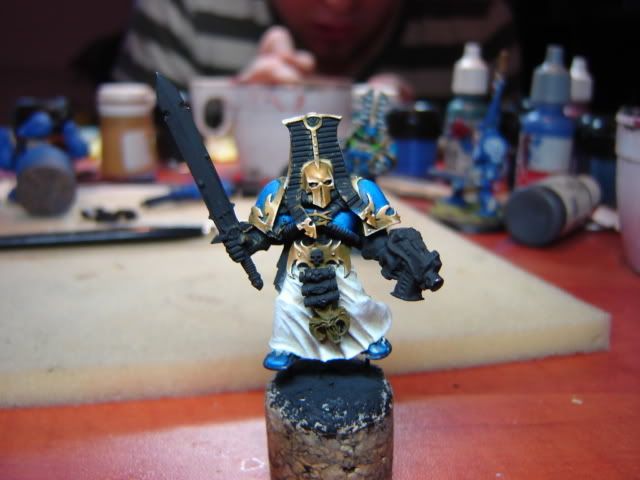
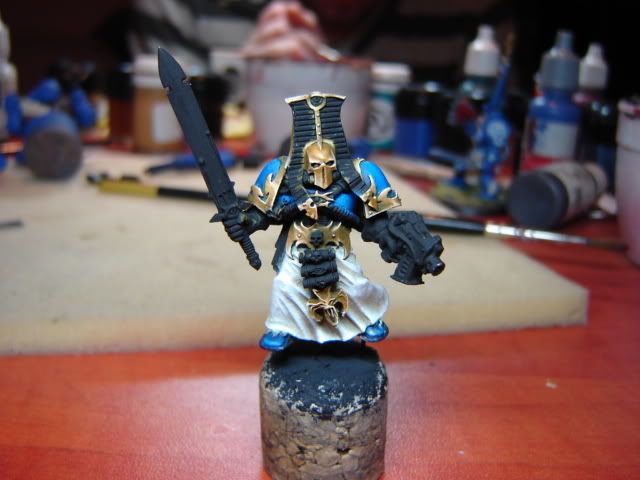
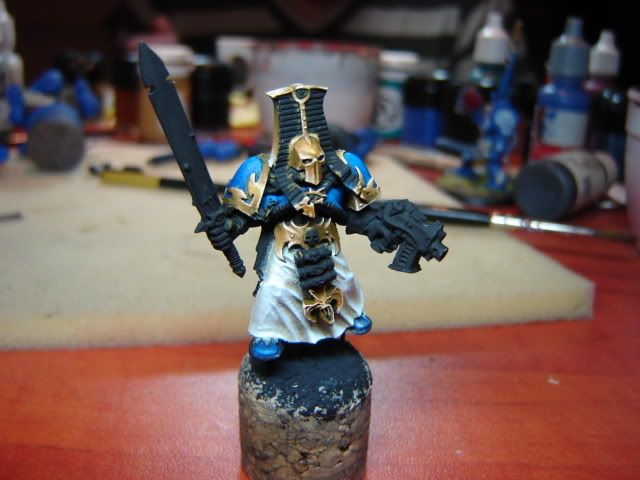
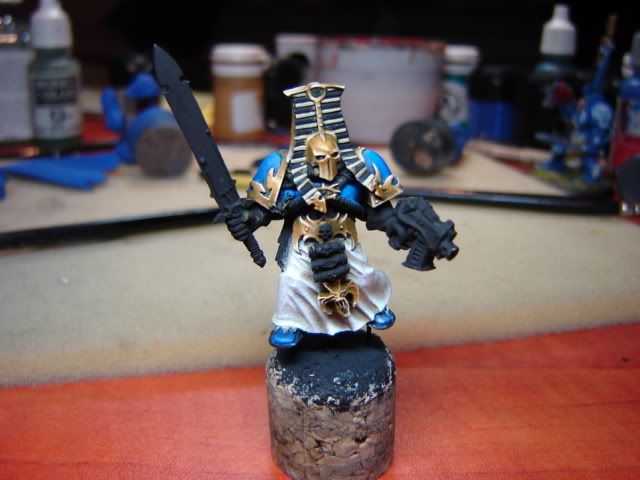
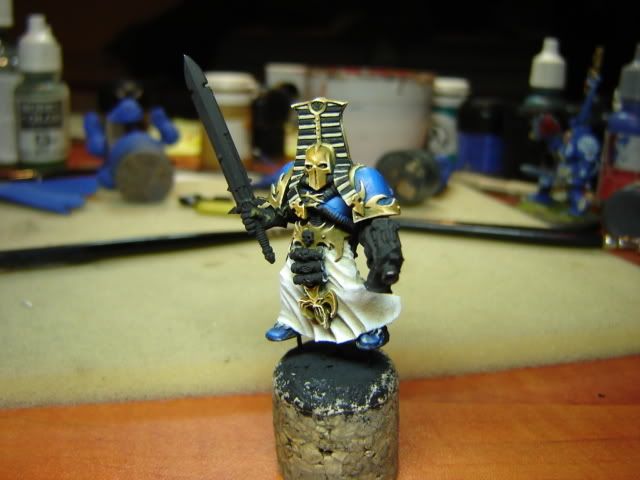
Ok today\'s work

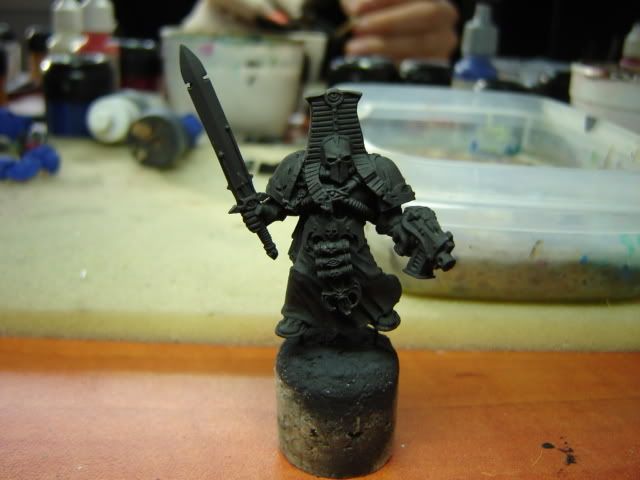
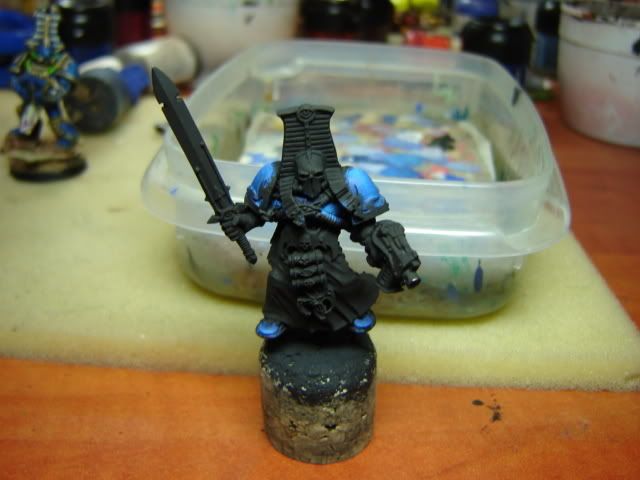
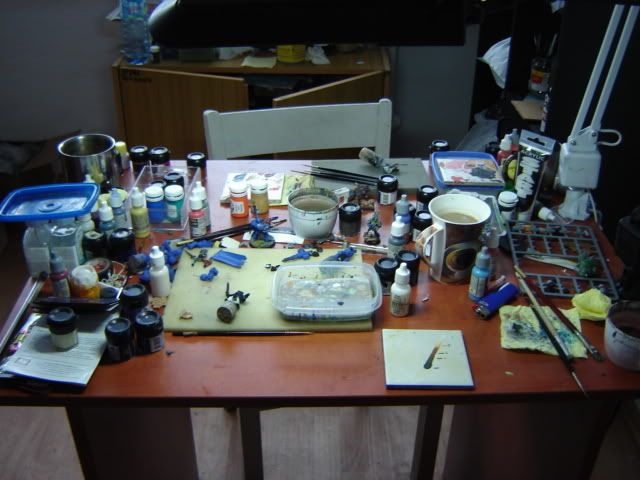
Here\'s my workshop
Today we\'ll deal with gold nmm.
We\'ll need.
1. Black
2. Snakebite Leather
3. White
4. Some patience
5. A tad of imagination
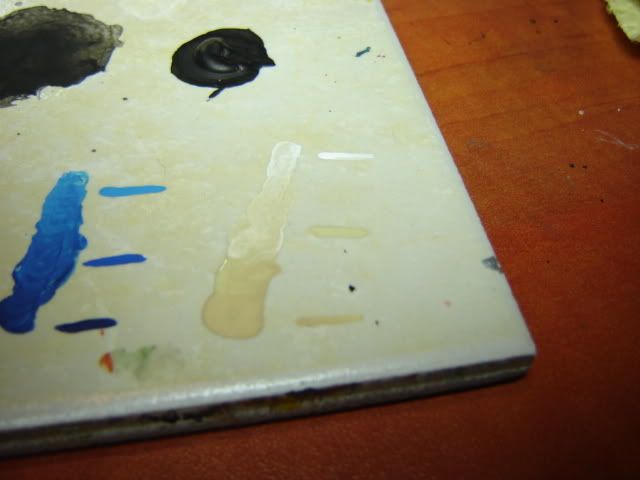
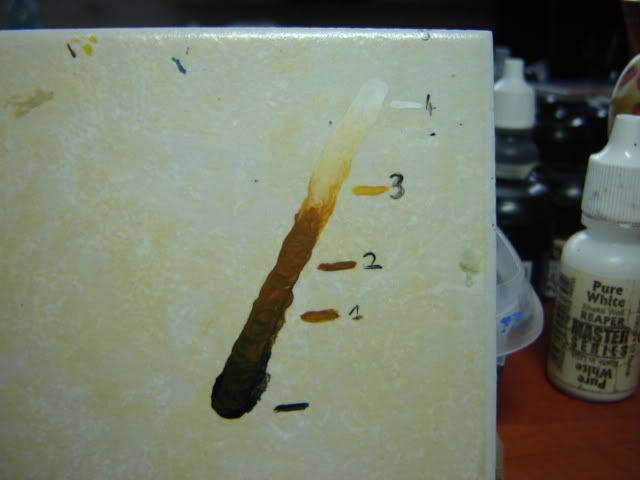
Colour transitions will look like this:
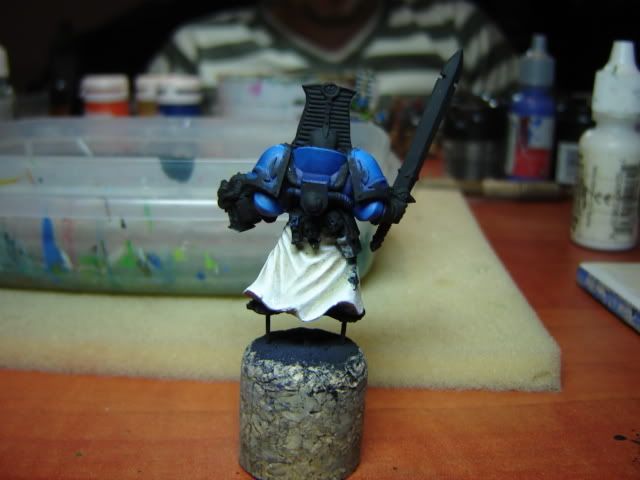
While painting nmm, we have to take a lightsource. I chose a point that will light the right side of the mini.
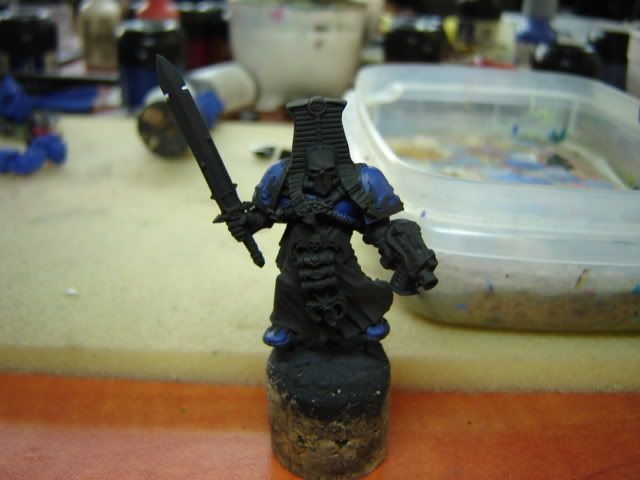
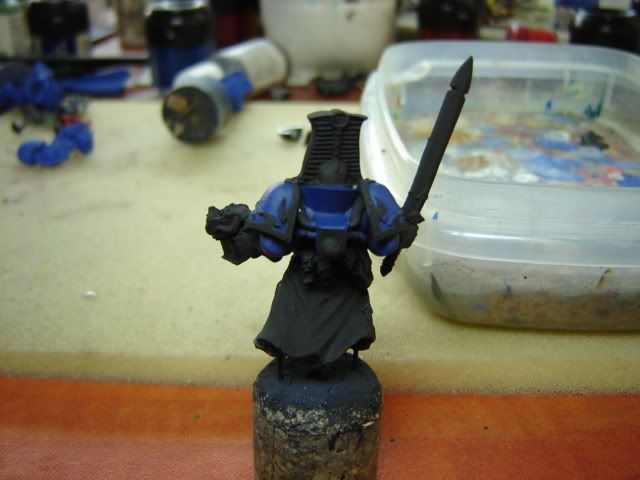
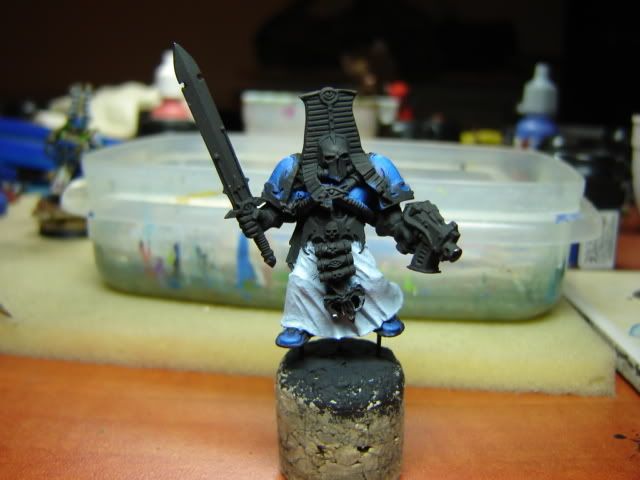
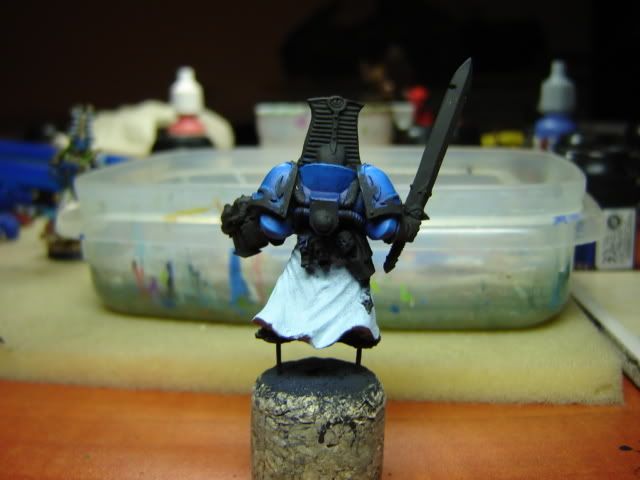
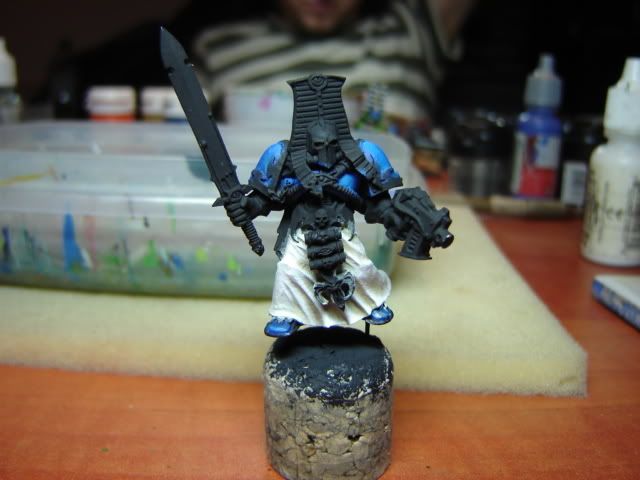
We\'ll deal with the front today.
Ok - first of all we need to mix snakebite + a tad of black to get a greenish colour.
The basecoat:
It\'s better to prepare some more of this mix - so that it won\'t dry up too fast
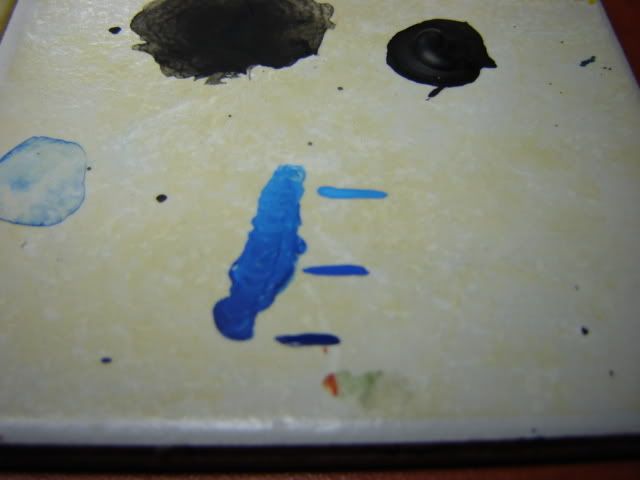
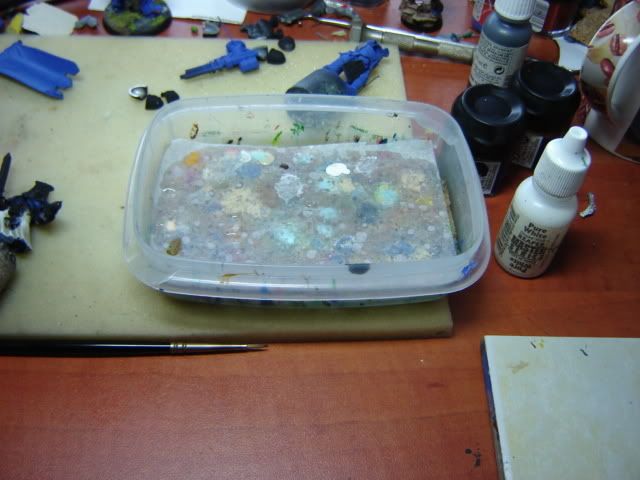
I\'m using a wet palette - paints don\'t dry up on it, and if you\'ll prepare the palette correctly you can use the same paints the day after
Plastic container, a piece of a flat sponge, and some baking paper - white, not bown.
Ok, back to the mini.
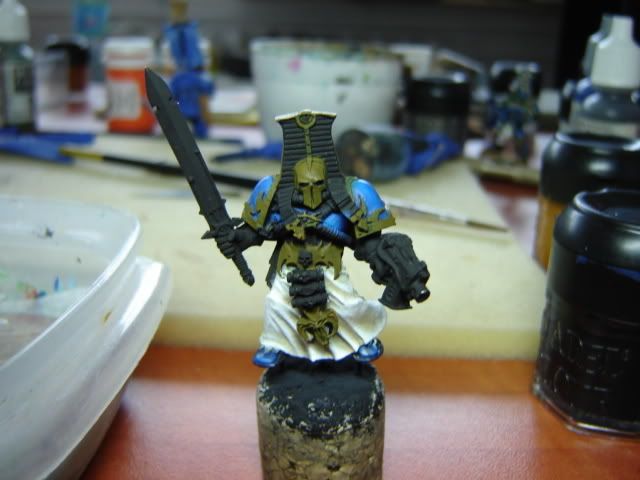
After we apply the base, I highlighted the helmet up to pure snakebite remembering about the lightsource.
I have highlighted the right side of the helmet - leaving the left darker.
After highlighting up to pure snakebite - I started adding white.
At the end we paint BLEAKS, (spots where the light would reflect on the metal
)
Additionaly I have highlighted the sides of the helmet + the upper part..
I used the same techinique to highlight the right shoulderpad.
A fully highlighted helmet looks like this:
Now I have painted two pads decorating the helmet.
Next was the second shoulderpad
The belt - basecoat.
The light reflects more on the right side -so it\'s more highlighted (the left one is darker).
Left side was carefully highlighted in just some spots, (up to pure white) to give a reflective look.
The last nmm elements left - the pendant below the scroll tubes, and they eye symbol on his chest
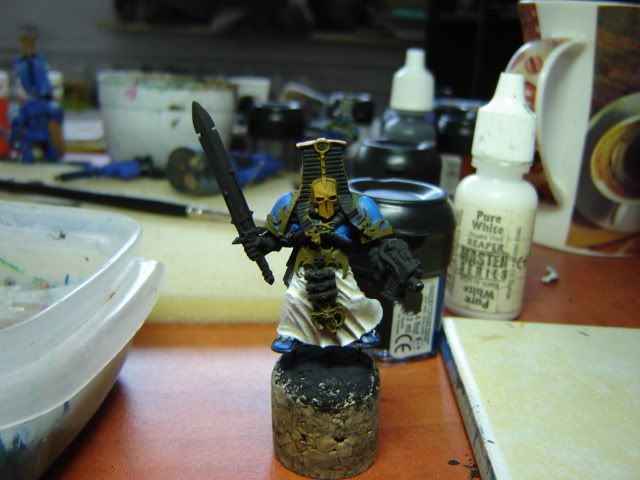
This is all nmm for today
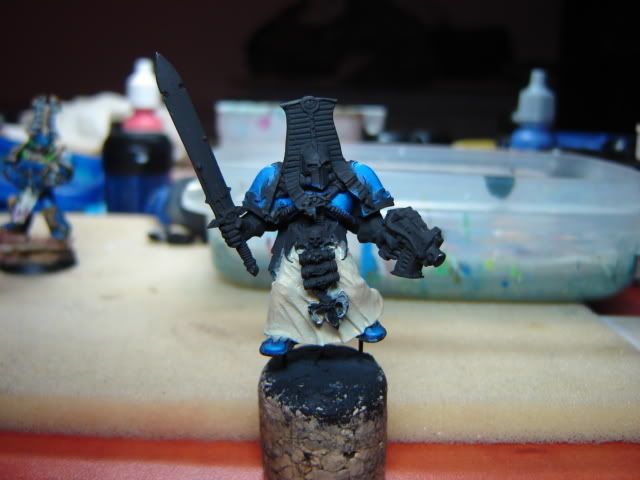
I started to paint the helmet\'s decorations as the last thing today... Applied pure Iraqui Sand - was to tired to paint anything else
Some more pics tomorrow -hopefully will even finish him