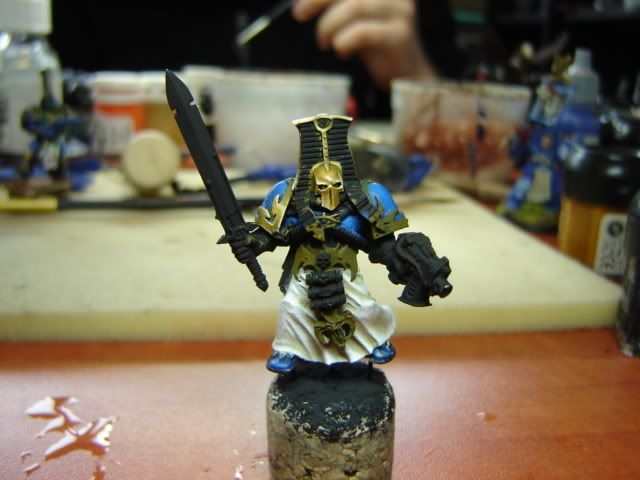
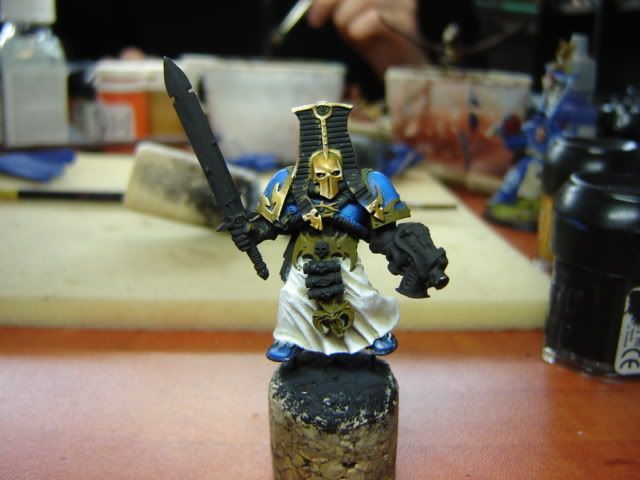
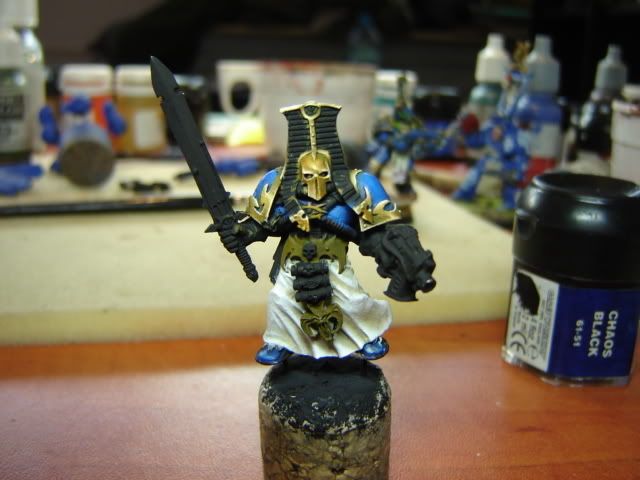
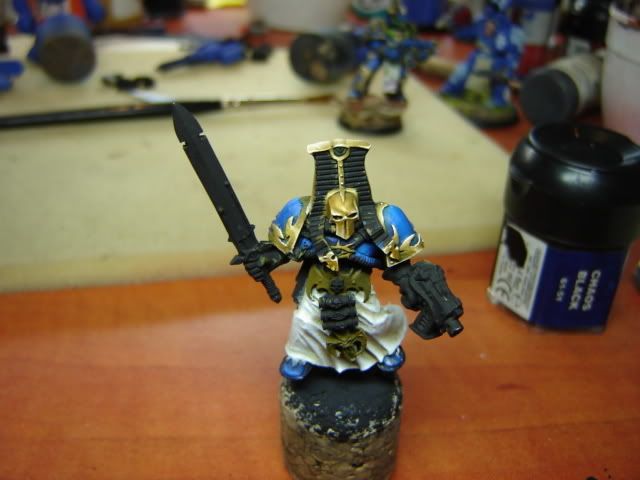
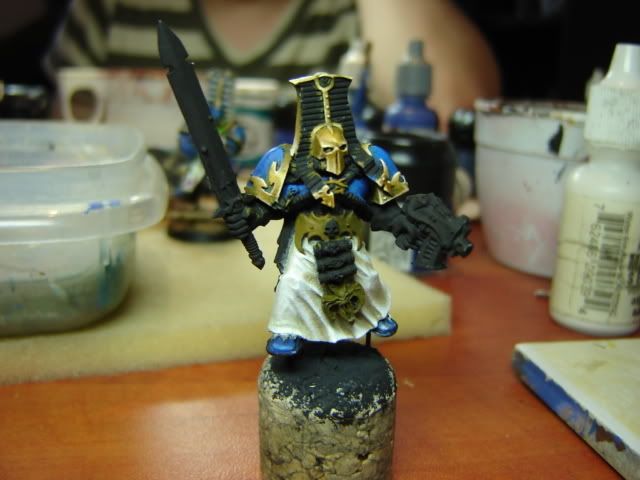
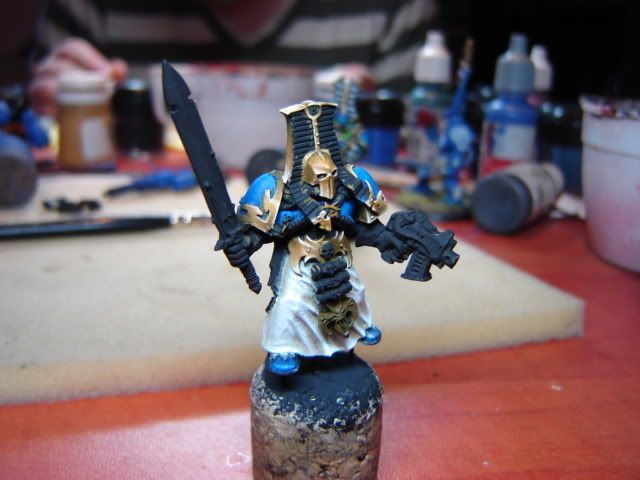
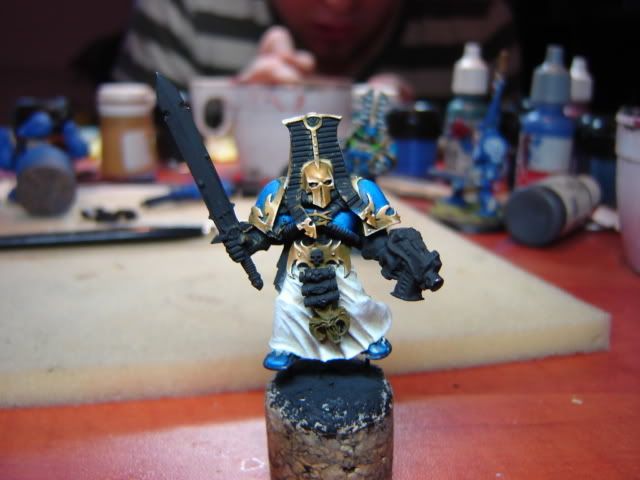
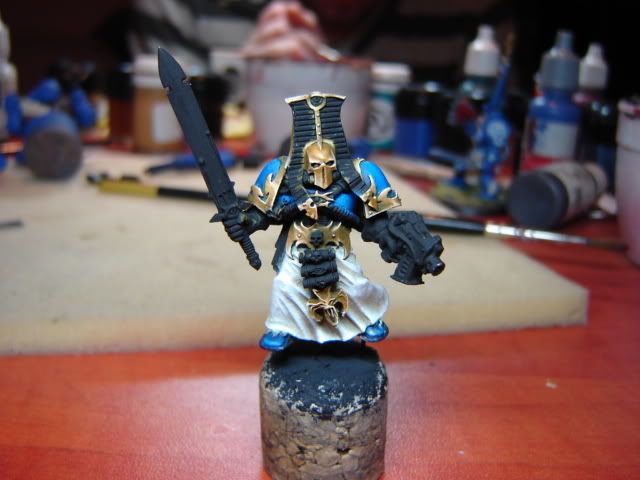
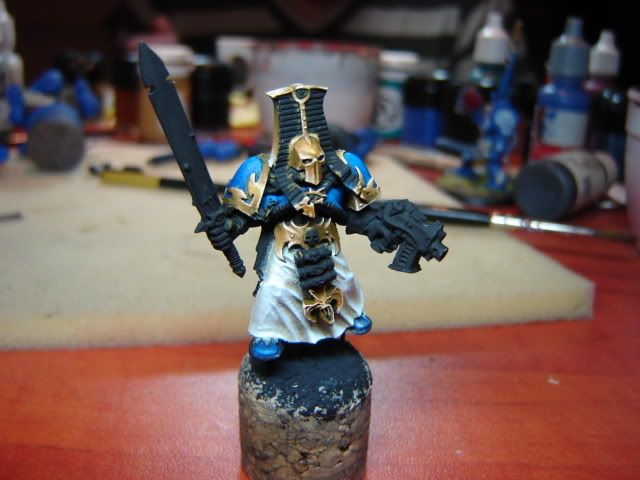
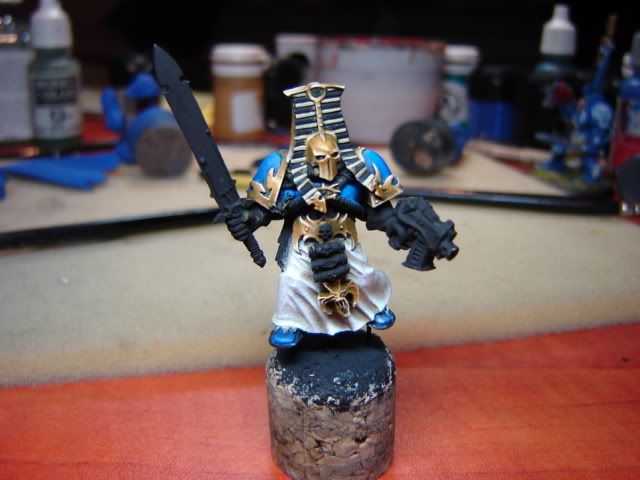
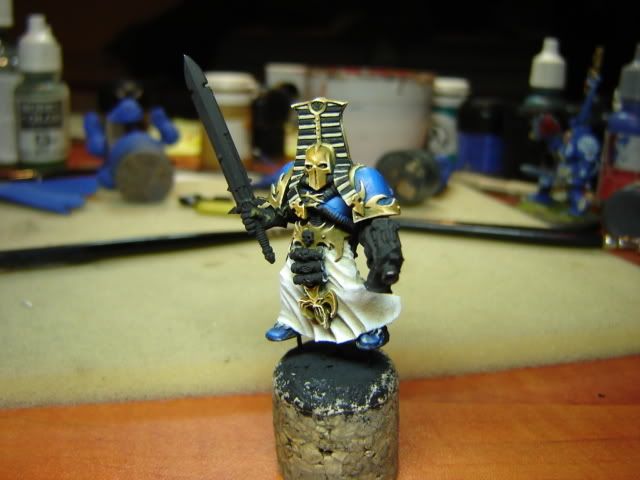
Hashmallum\'s WIPs

electrolito 77

New member
Great! Thanks for confirming that. Now did you use some kind of airbrush medium or was it just watered down? I might try it with my Deathwing Land Raider and some of my terminators see how they come out. Thanks again and keep up the quality stuff Hash.
 

electrolito 77

New member
Thanks for the tip. I usually use my Airbrush for terrain and stuff but never have used it for anything else. Those foundation paints sure sound good too. Might have to spend more money now... :flame:
 

Larre

New member
great work man! :D

I definatly think that this is one of your best minis on CMON!
those skintones are just amazing, beautiful.

you should tell your friend to create a CMON acc, would be cool to see more of his stuff :p

keep up the great work

// Larre
 

hashmallum

New member
There are some of his works on our studio account - browse the gallery for Leprecvhaun studio = the canoness, high elf hero ,and ultramarine chaplain are his :)
 

freakinacage

Well-known member
dude, whats the deal-i-o with the citadel foundation paints? i assumed (wrongly) that they were oldies that i hadn\'t heard of but they\'re new aren\'t they? what are they like? are they just plain paints/washes/basecoats?
 

hashmallum

New member
Since I started to paint the TS sergeant and I have my camera with me all the time, I decided to prepare a short WIP.tuorial thread :)

Let\'s start!

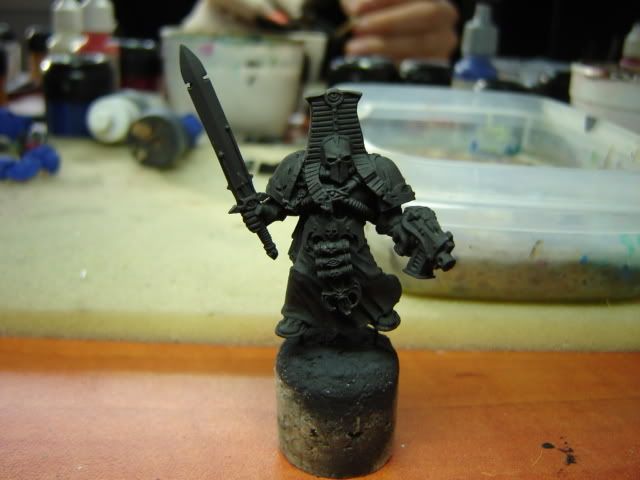
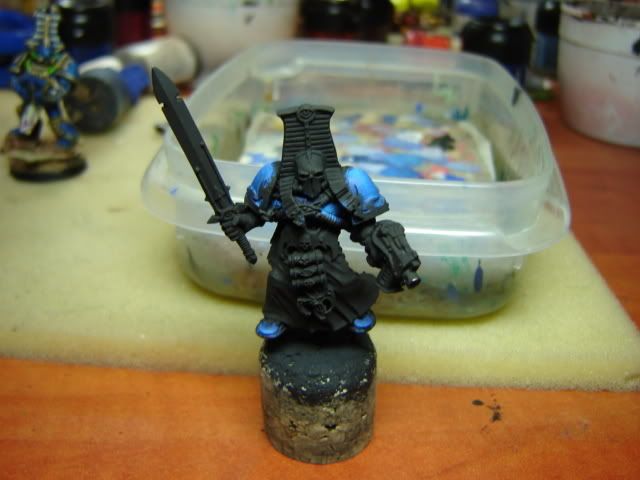
First of all we need to clean the mini of all the mouldlines + excessive flash. After we do this, we prime the mini black.

It looks like this :)

base1.jpg


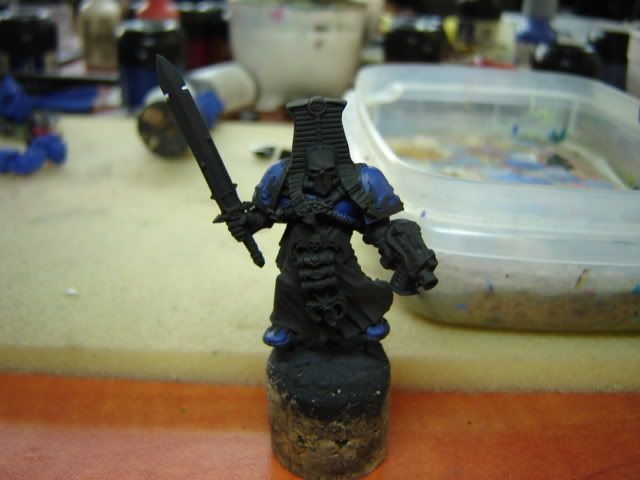
Now we start to highlight the armour:

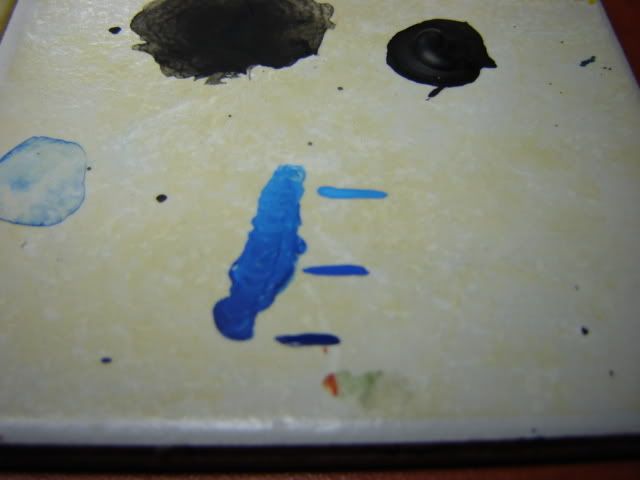
The colours I used

Vallejo Game Colour Imperial Blue (Regal Blue) - base
Vallejo Game Colour Magic Blue (enchanted blue) - 1st highlight
Vallejo Game Colour Electric Blue - 2nd highlight :)

Colour transitions should look like this

blues.jpg


Blue base:

baseblue.jpg

baseblue1.jpg


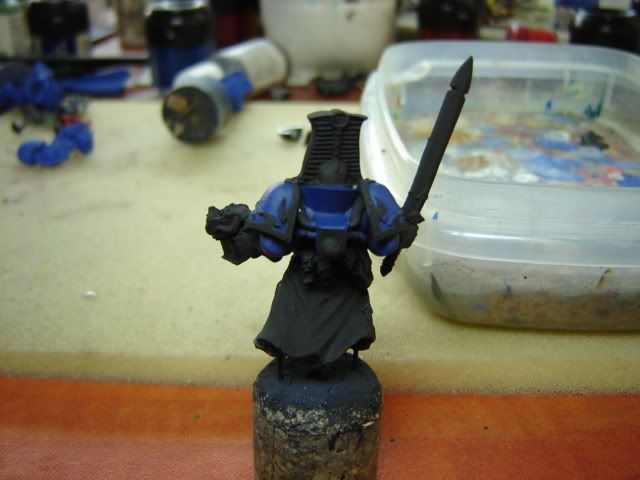
I blended the armour in 6 wet layers, after highlighting it should look like this :

blueh1.jpg


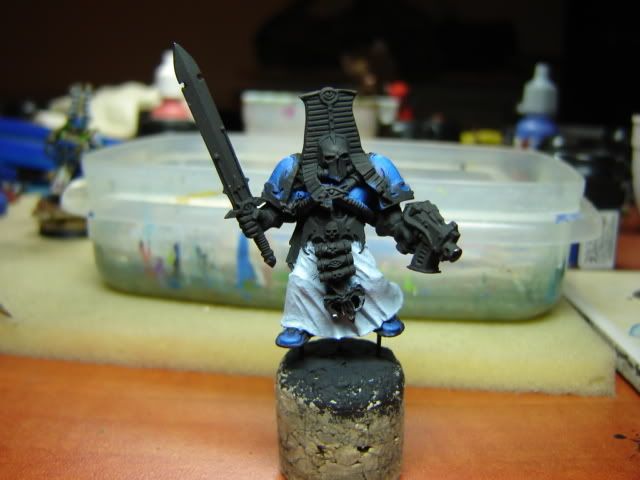
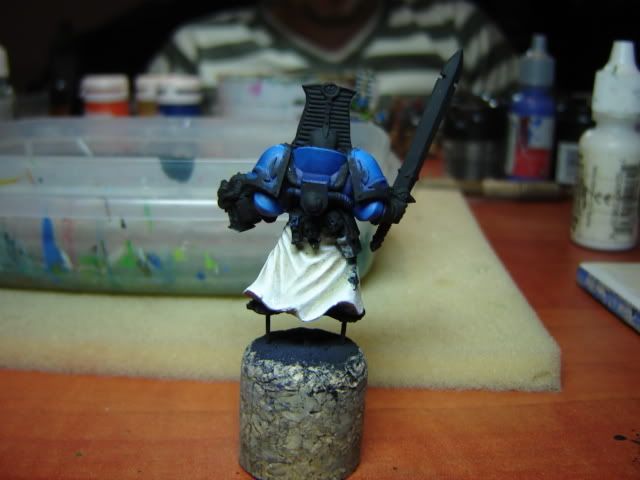
Now let\'s paint the cloak :).

For the base I have used Vallejo Game Colour Wolf Grey (space wolf grey) - it gives a nice smooth base for bright colours.

cloakbase.jpg

cloakbase1.jpg


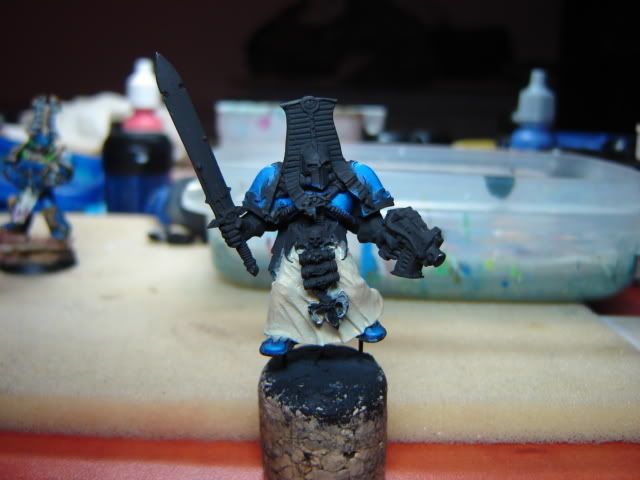
Now we apply a base coat of Vallejo Model Colour Iraqui Sand - I think it\'s a good colour for a cloth base - It gives a smooth effect and a small contrast when highlighted up to white. The base looks like this:

cloakbase2.jpg

cloakbase3.jpg


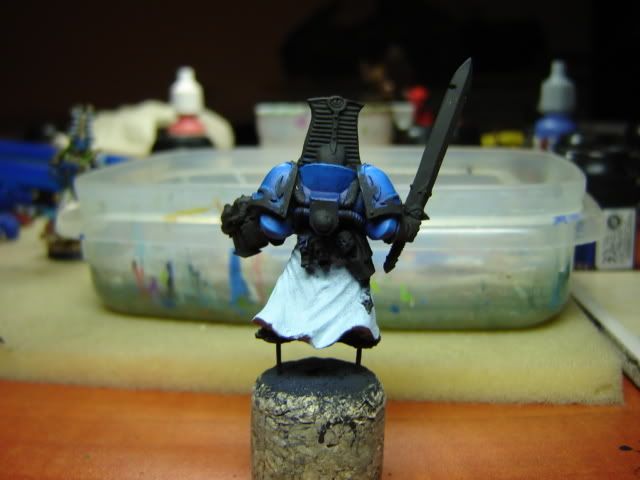
I have highlighted Iraqui sand first with Bonewhite (bleached bone) and then with white.

Colour transitions again:

DSC01607.jpg


After higlighting: (Remember to highlight the edges and the side of the cloak! :) ):

cloakhl.jpg

cloakhl1.jpg


All for now, hopefully will update this thread tomorrow :)
 

Talion

New member
Originally posted by david 56
wow!is that how u blend jus by watering down ur paints and many layers!cause its looking great!

Yep thats the basic concept for producing subtle shades on a mini
 

hashmallum

New member
Ok today\'s work :p

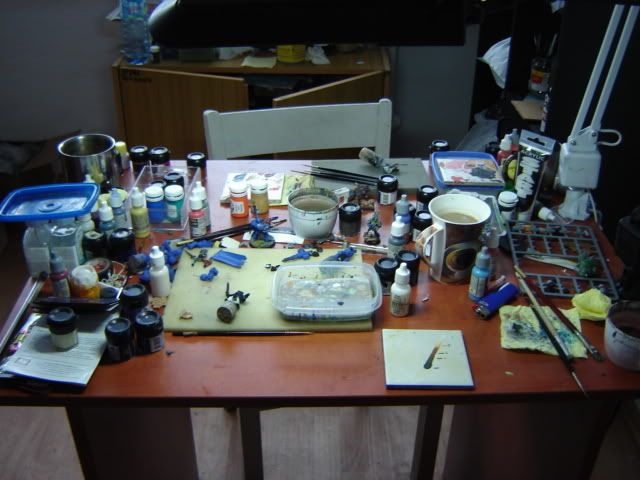
Here\'s my workshop :)

workshop.jpg


Today we\'ll deal with gold nmm.

We\'ll need.

1. Black
2. Snakebite Leather
3. White
4. Some patience
5. A tad of imagination :)

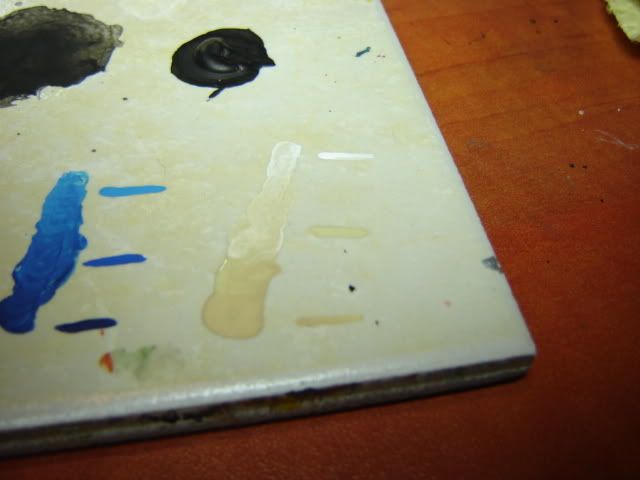
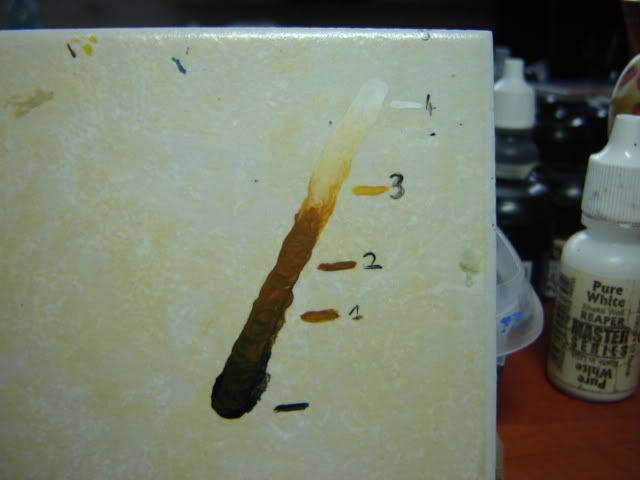
Colour transitions will look like this:

nmmpalette.jpg


While painting nmm, we have to take a lightsource. I chose a point that will light the right side of the mini.
We\'ll deal with the front today.

Ok - first of all we need to mix snakebite + a tad of black to get a greenish colour.

The basecoat:

1.jpg


It\'s better to prepare some more of this mix - so that it won\'t dry up too fast :)

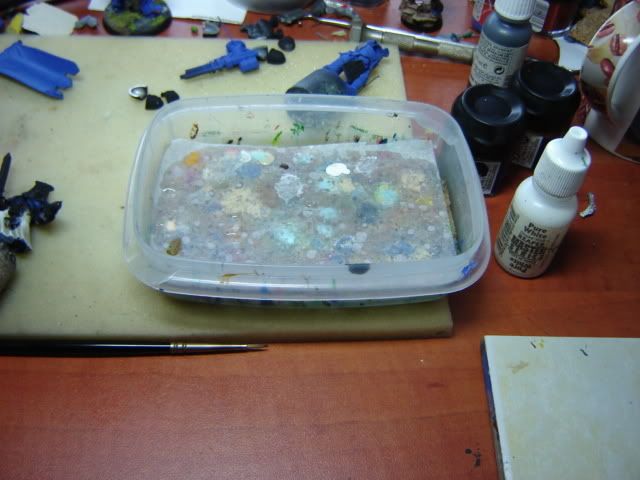
I\'m using a wet palette - paints don\'t dry up on it, and if you\'ll prepare the palette correctly you can use the same paints the day after :)

wetpalette.jpg


Plastic container, a piece of a flat sponge, and some baking paper - white, not bown.

Ok, back to the mini.

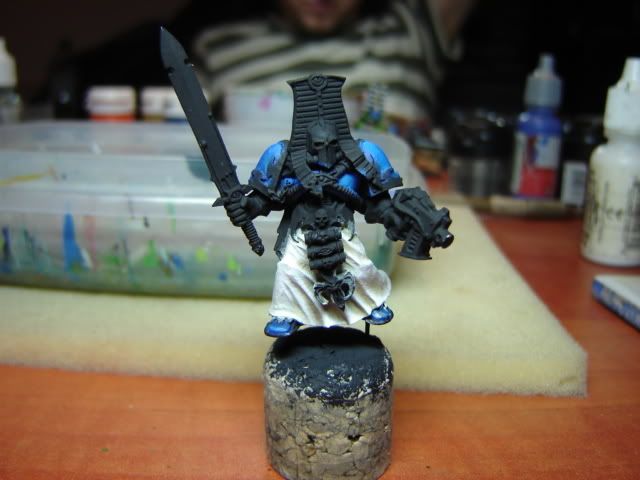
After we apply the base, I highlighted the helmet up to pure snakebite remembering about the lightsource.

2.jpg


I have highlighted the right side of the helmet - leaving the left darker.

After highlighting up to pure snakebite - I started adding white.
At the end we paint BLEAKS, (spots where the light would reflect on the metal :) )

Additionaly I have highlighted the sides of the helmet + the upper part..

I used the same techinique to highlight the right shoulderpad.


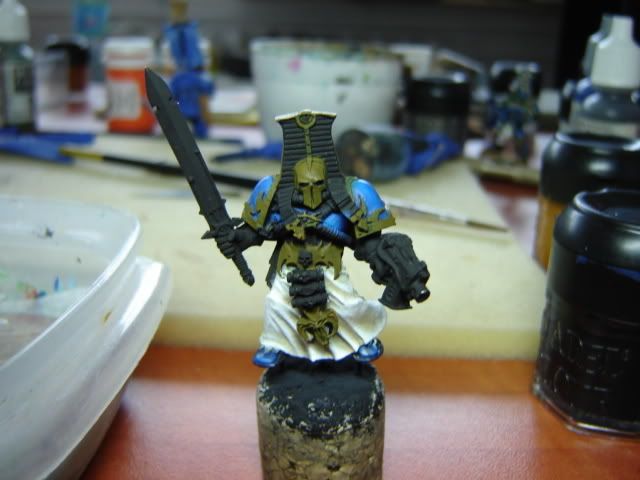
A fully highlighted helmet looks like this:
3.jpg


Now I have painted two pads decorating the helmet.

4.jpg


Next was the second shoulderpad

5.jpg

6.jpg


The belt - basecoat.
7.jpg


The light reflects more on the right side -so it\'s more highlighted (the left one is darker).

8.jpg


Left side was carefully highlighted in just some spots, (up to pure white) to give a reflective look. :)

9.jpg


The last nmm elements left - the pendant below the scroll tubes, and they eye symbol on his chest :)

10.jpg

11.jpg


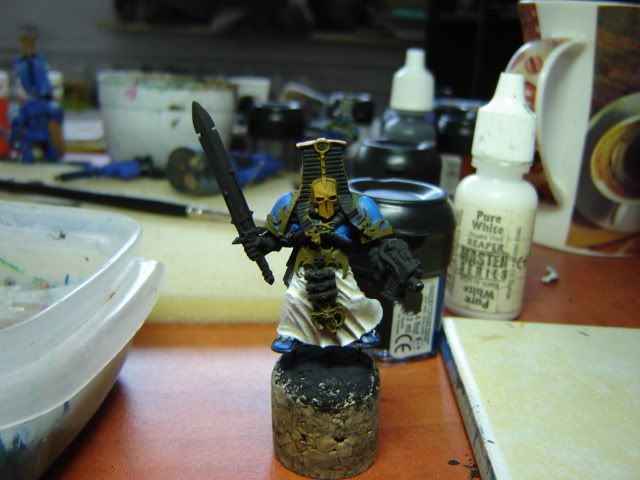
This is all nmm for today :p

I started to paint the helmet\'s decorations as the last thing today... Applied pure Iraqui Sand - was to tired to paint anything else :)

12.jpg

13.jpg


Some more pics tomorrow -hopefully will even finish him :)
 

uberdark

New member
i hate you... thats all i can say. :p

you stink ... you are horrible i am immensely jealous and hope your brush lands in a fire. but before any of that happens can you please possess my body for one minute to show me how to do golds. i still cant do them for the life of me.

honestly man its some great stuff. :D

keep up this awesome work!!!!!:eek:
 

AsgardUK

New member
Hi Hash,

first off i want to say that your threads are always very interesting and informative, im not really a big fan of NMM but your style is the exception to the rule, in fact i have often thought about asking you for a tutorial on it just so i can give it a try.... and low and behold you beat me to it, so thanks for that :beer:

looking forward to seeing how this one turns out as i have always liked this perticluar mini, keep up the good work mate and the cool threads:cool:
 
Back To Top
Top